Hi and welcome!
Well, it's official...Spring is here and hopefully the weather warms up soon.
My card today is rather springlike and it's an easy card to create.
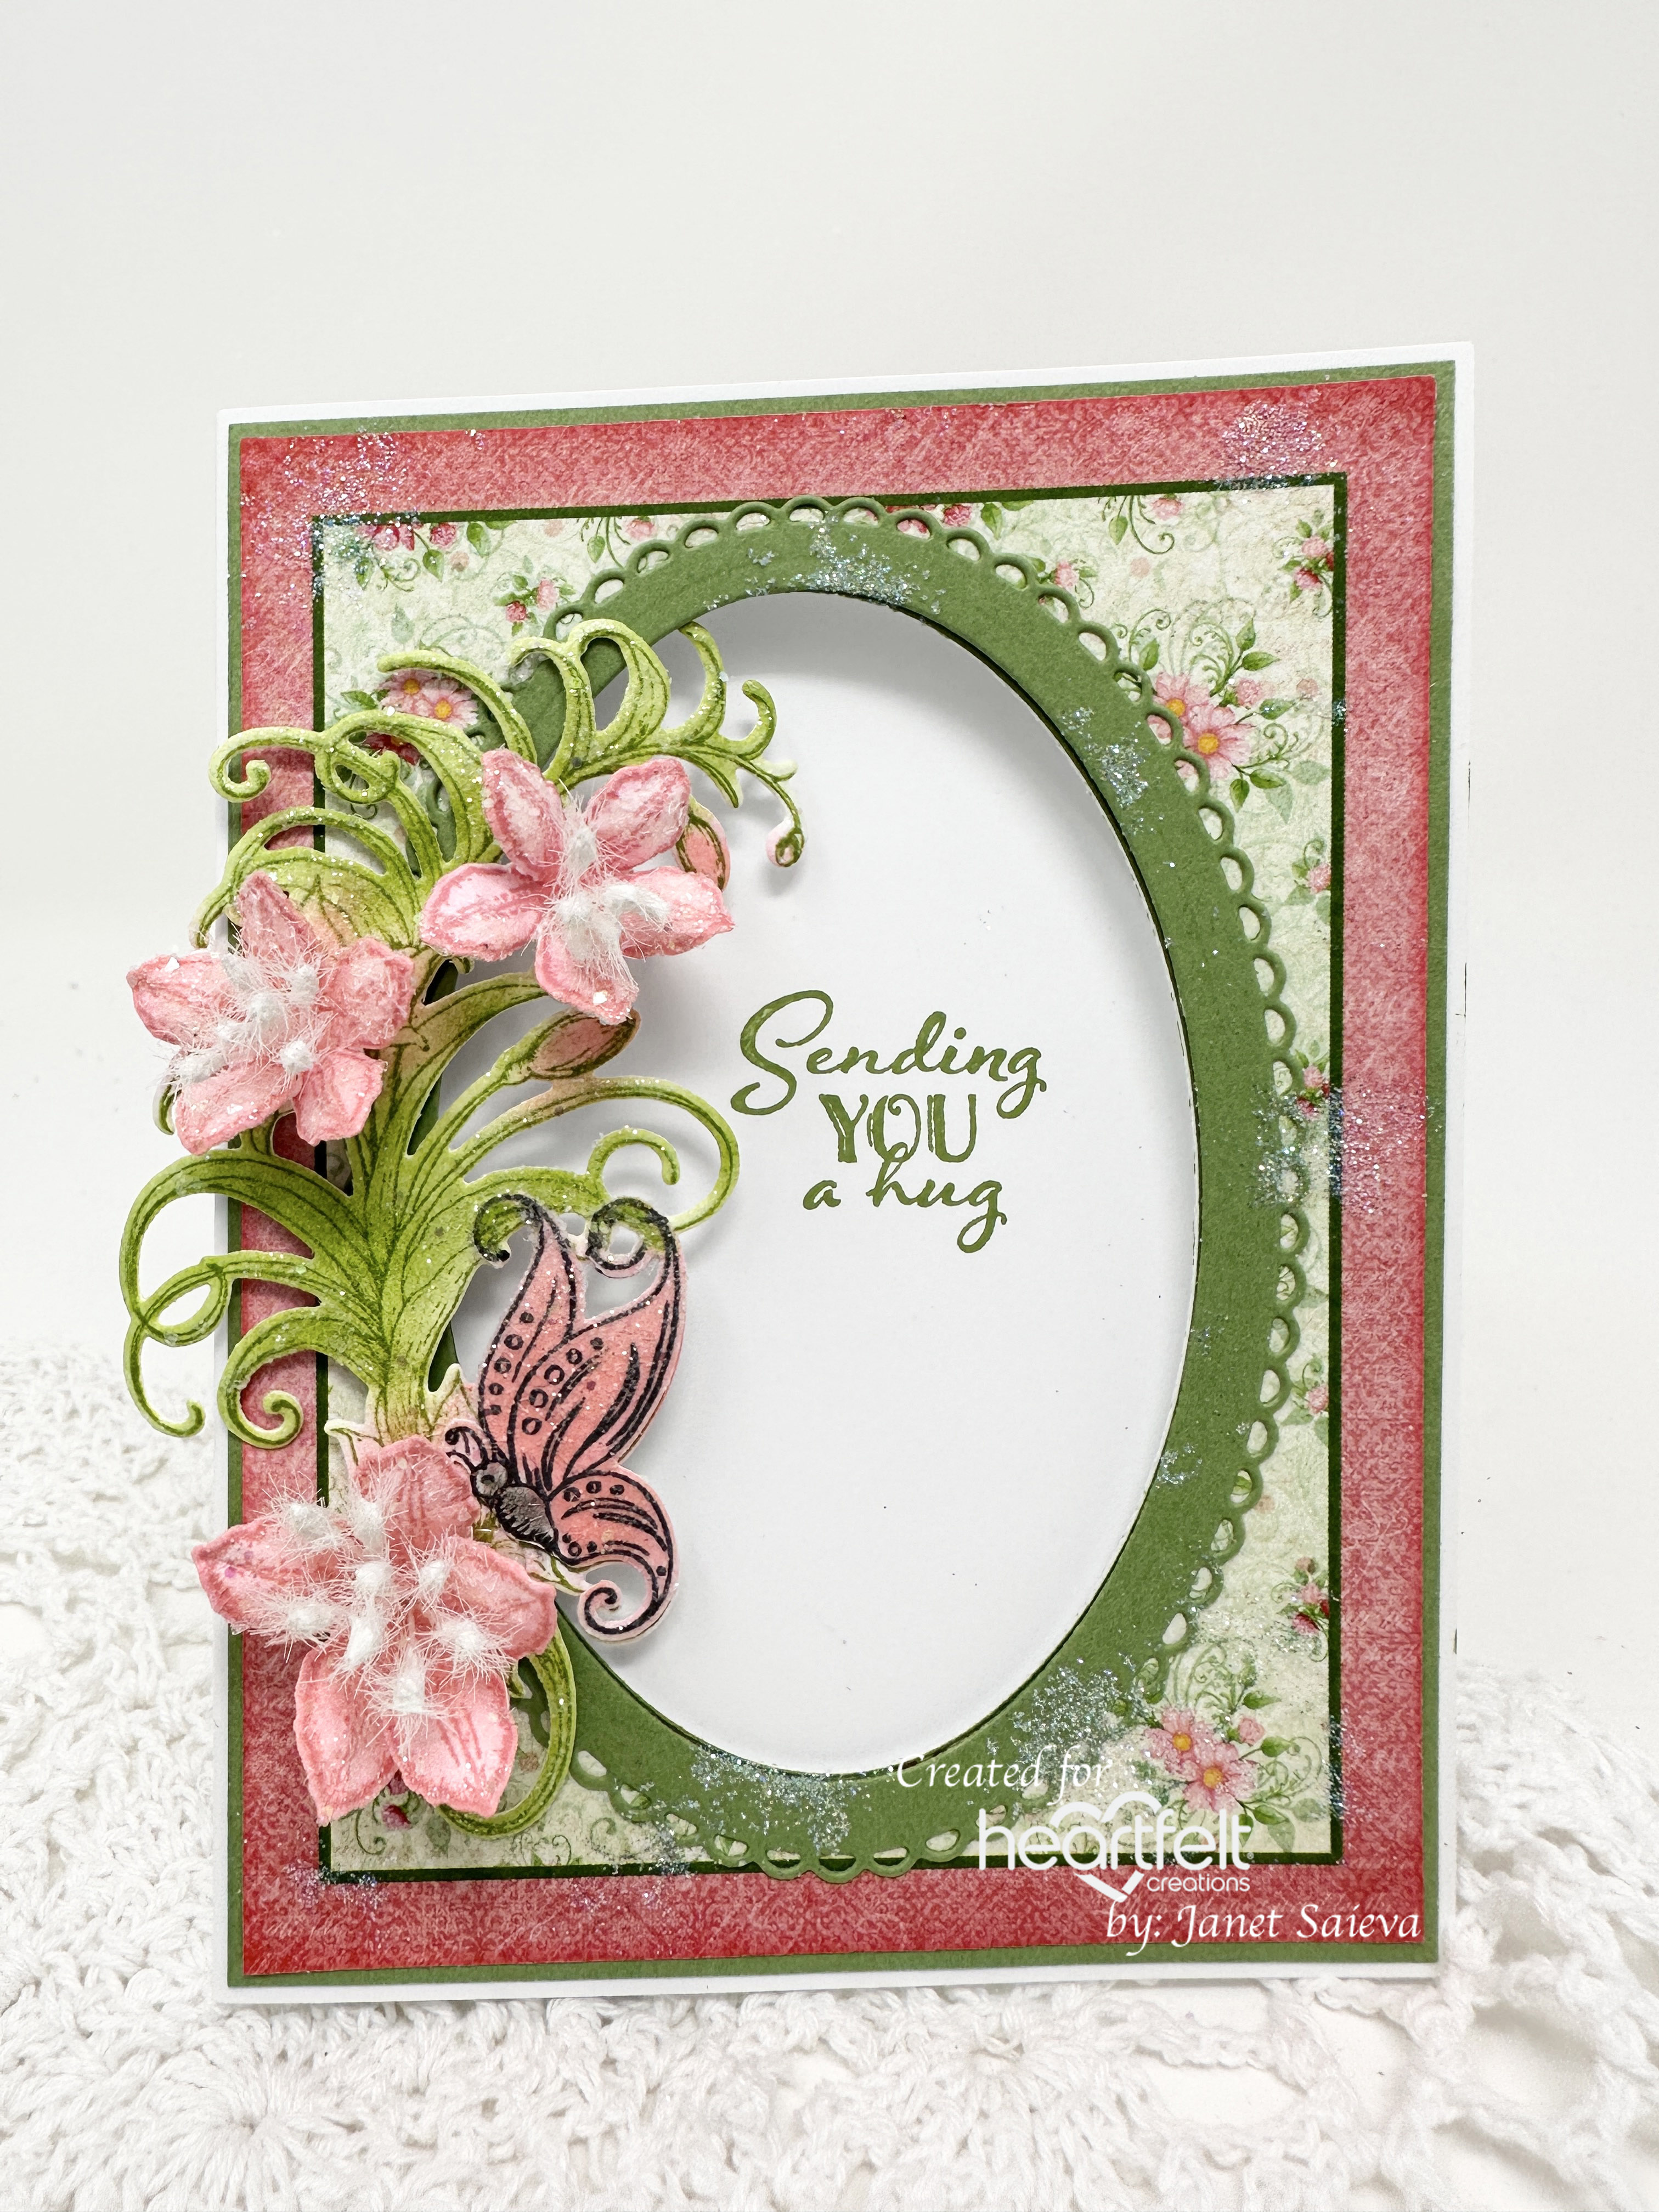


Instructions: Card size is 4 1/4 x 5 1/2”. Score and fold 8 1/2 x 5 1/2” white cardstock at 4 1/4” on the long side to create a side fold card base. Cut the 4 x 5 1/4 panel from the Feathery Floral Paper Collection sheet 9A. Using the second largest Eyelet Oval & Basics Small Die, cut the oval from the center of the panel. Cut two pieces of green cardstock (Wild Wasabi used here.) 4 1/8 x 5 3/8” and adhere one to the inside of the card. Take the second one and adhere to the front of the card using dries clear adhesive. Center the panel with the cut-out oval on top of the green layer and use a pencil to mark the oval on the green panel. Place the same oval die on the pencil mark and run the card base with the green panel through the diecutting machine to cut an aperture in the card front. Using the largest and second largest ovals from the same die set, cut a frame from green cardstock. Ink the edges of the designer card front panel using Coastal Coral Archival ink and adhere over the green panel. Adhere the green frame around the oval aperture.
Stamp the image from the Petite Feathery Florals Cling Stamp set on white cardstock using Leaf Green Archival ink, color using Leaf Green and Coastal Coral inks. Stamp the same image using Tuxedo Black ink and color using Coastal Coral and Black Soot inks. Diecut both images using the coordinating die, lightly shape using the Deluxe Flower Shaping kit. Fussy cut just the butterfly from the Tuxedo Black image. Adhere the butterfly on top of the butterfly on the other image. Sponge the whole image with dries clear adhesive and sprinkle with Rajni Chawla’s Crystal Clear glitter. Adhere to the left side of the card using dimensional squares and glue.
Stamp the Clematis flowers on Deluxe Flower Shaping Paper using Coastal Coral Archival ink and color both sides of the flowers with the same ink. Diecut using the coordinating dies and shape in the 3D Clematis Shaping Mold. Pierce the centers using the Groove Golf Tool and insert Bridal Bouquet Stamens. Secure the stamens with hot glue. Sponge the flowers with dries clear adhesive and sprinkle with Crystal Clear glitter. Adhere the flowers to the Feathery Floral image using hot glue.
Stamp the ‘Sending you a hug’ sentiment from the Friendship Sentiments Cling Stamp set on white 4 x 51/4” cardstock using Wild Wasabi ink and adhere to the inside of the card. Be sure that it shows through the diecut oval front. Add a little sparkle to the card by randomly sponging with dries clear adhesive and sprinkling with Ultrafine Transparent Glitter.
You can find a list of all products used on my card in the Heartfelt Creations Gallery. Please be sure to visit the Heartfelt Creations Blog to see all of the absolutely gorgeous projects created by the fabulous Design Team! You won't be disappointed.
Thank you so much for stopping by, I really appreciate you!
Till we meet again, please stay safe and be well.
Have a beautiful day!
Crafty Hugs, 🤗🤗🤗
Janet
3 comments:
Such a lovely card my friend. First off I love the colors you chose, then there is the pretty aperture cut out and finally the floral piece just speaks to me. Well done!
This is gorgeous in its simplicity. Your flowers are very pretty!
So beautiful card my friend :)
Post a Comment