Wednesday, October 26, 2022

Heartfelt Creations - Pearlescent Rose Anniversary

 Hi and welcome!

Can you believe that October is coming to an end? I'm just not ready to start the holidays lol.

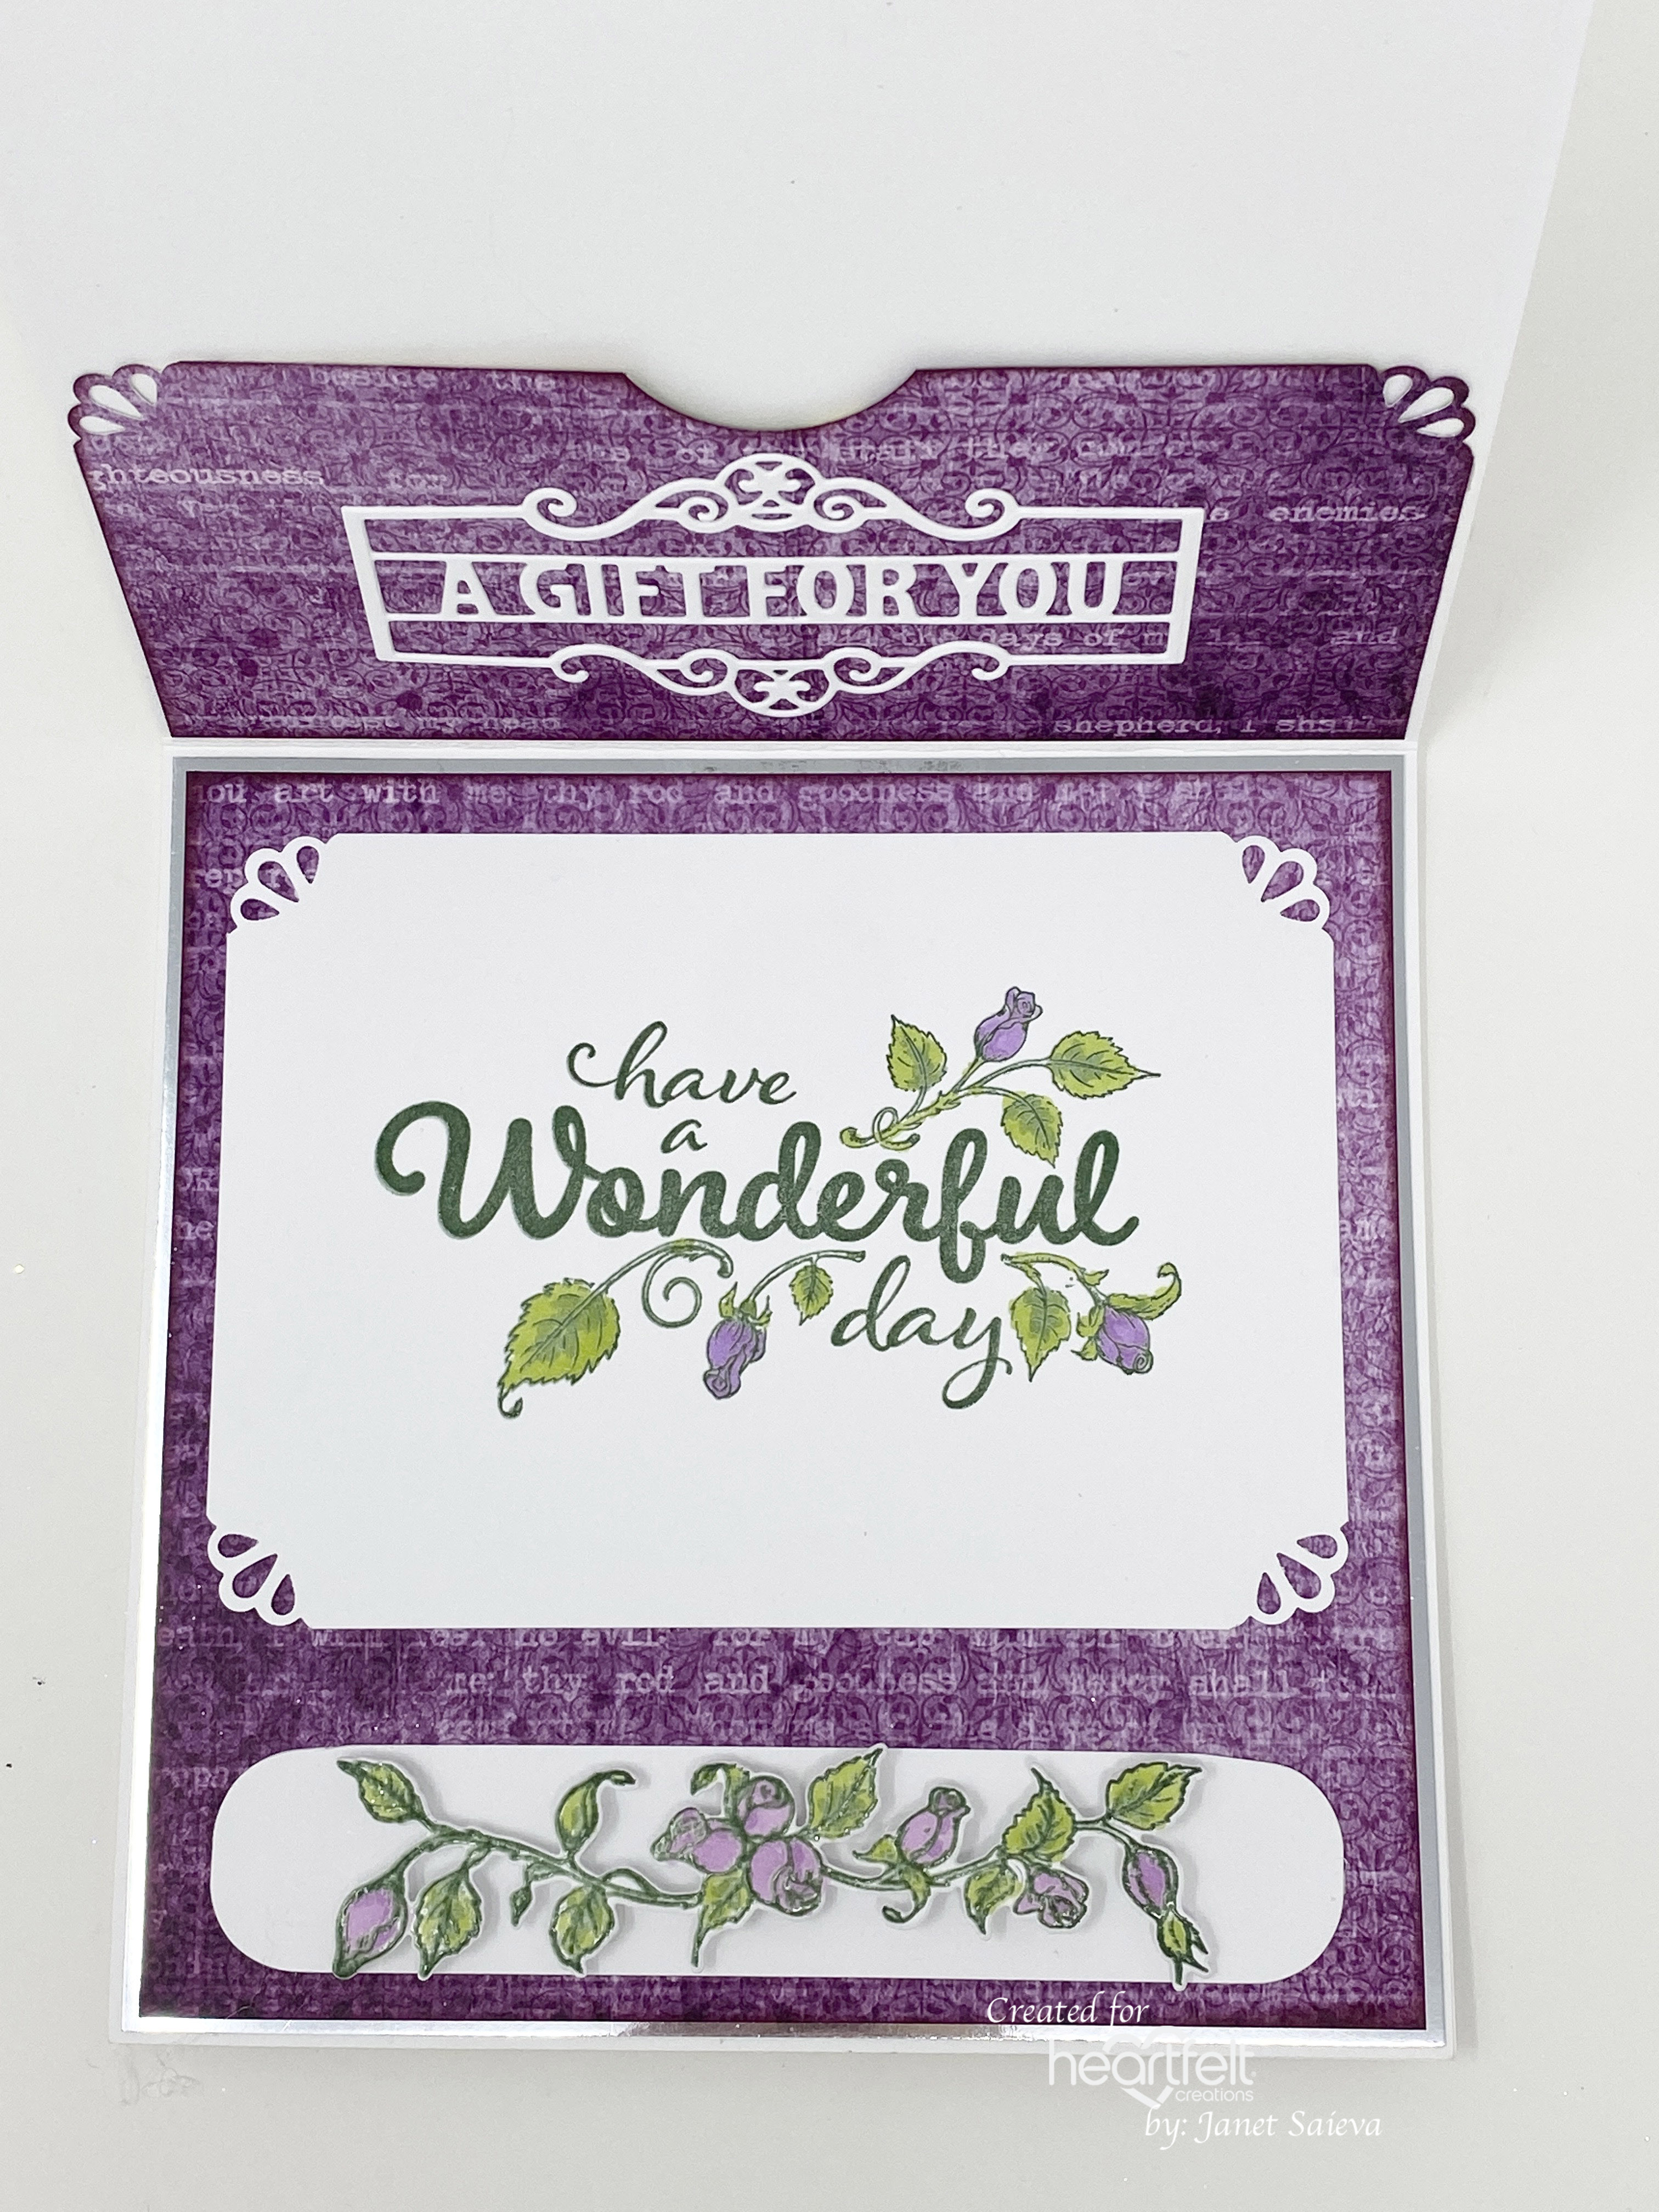
Oh well, back to business. My card today is just a pretty anniversary card. You could change up the sentiment and it would also be perfect for a wedding. What do you think?


Instructions: Card size is 7 x 5”. Score and fold 10 x 7” white cardstock at 5” on the long side to create tent fold card base. Cut Luxe Silver Cardstock 6 7/8 x 4 7/8” 2x and cut sheet 1B from the Elegant Rose Frames Paper Collection to 6 3/4 x 4 3/4” 2x. I cut one piece from the top left side and one from the bottom right side. Ink the edges of the designer using Brilliance Pearlescent Purple ink, adhere the designer paper to the silver paper, then adhere to the card front and the inside of the card.

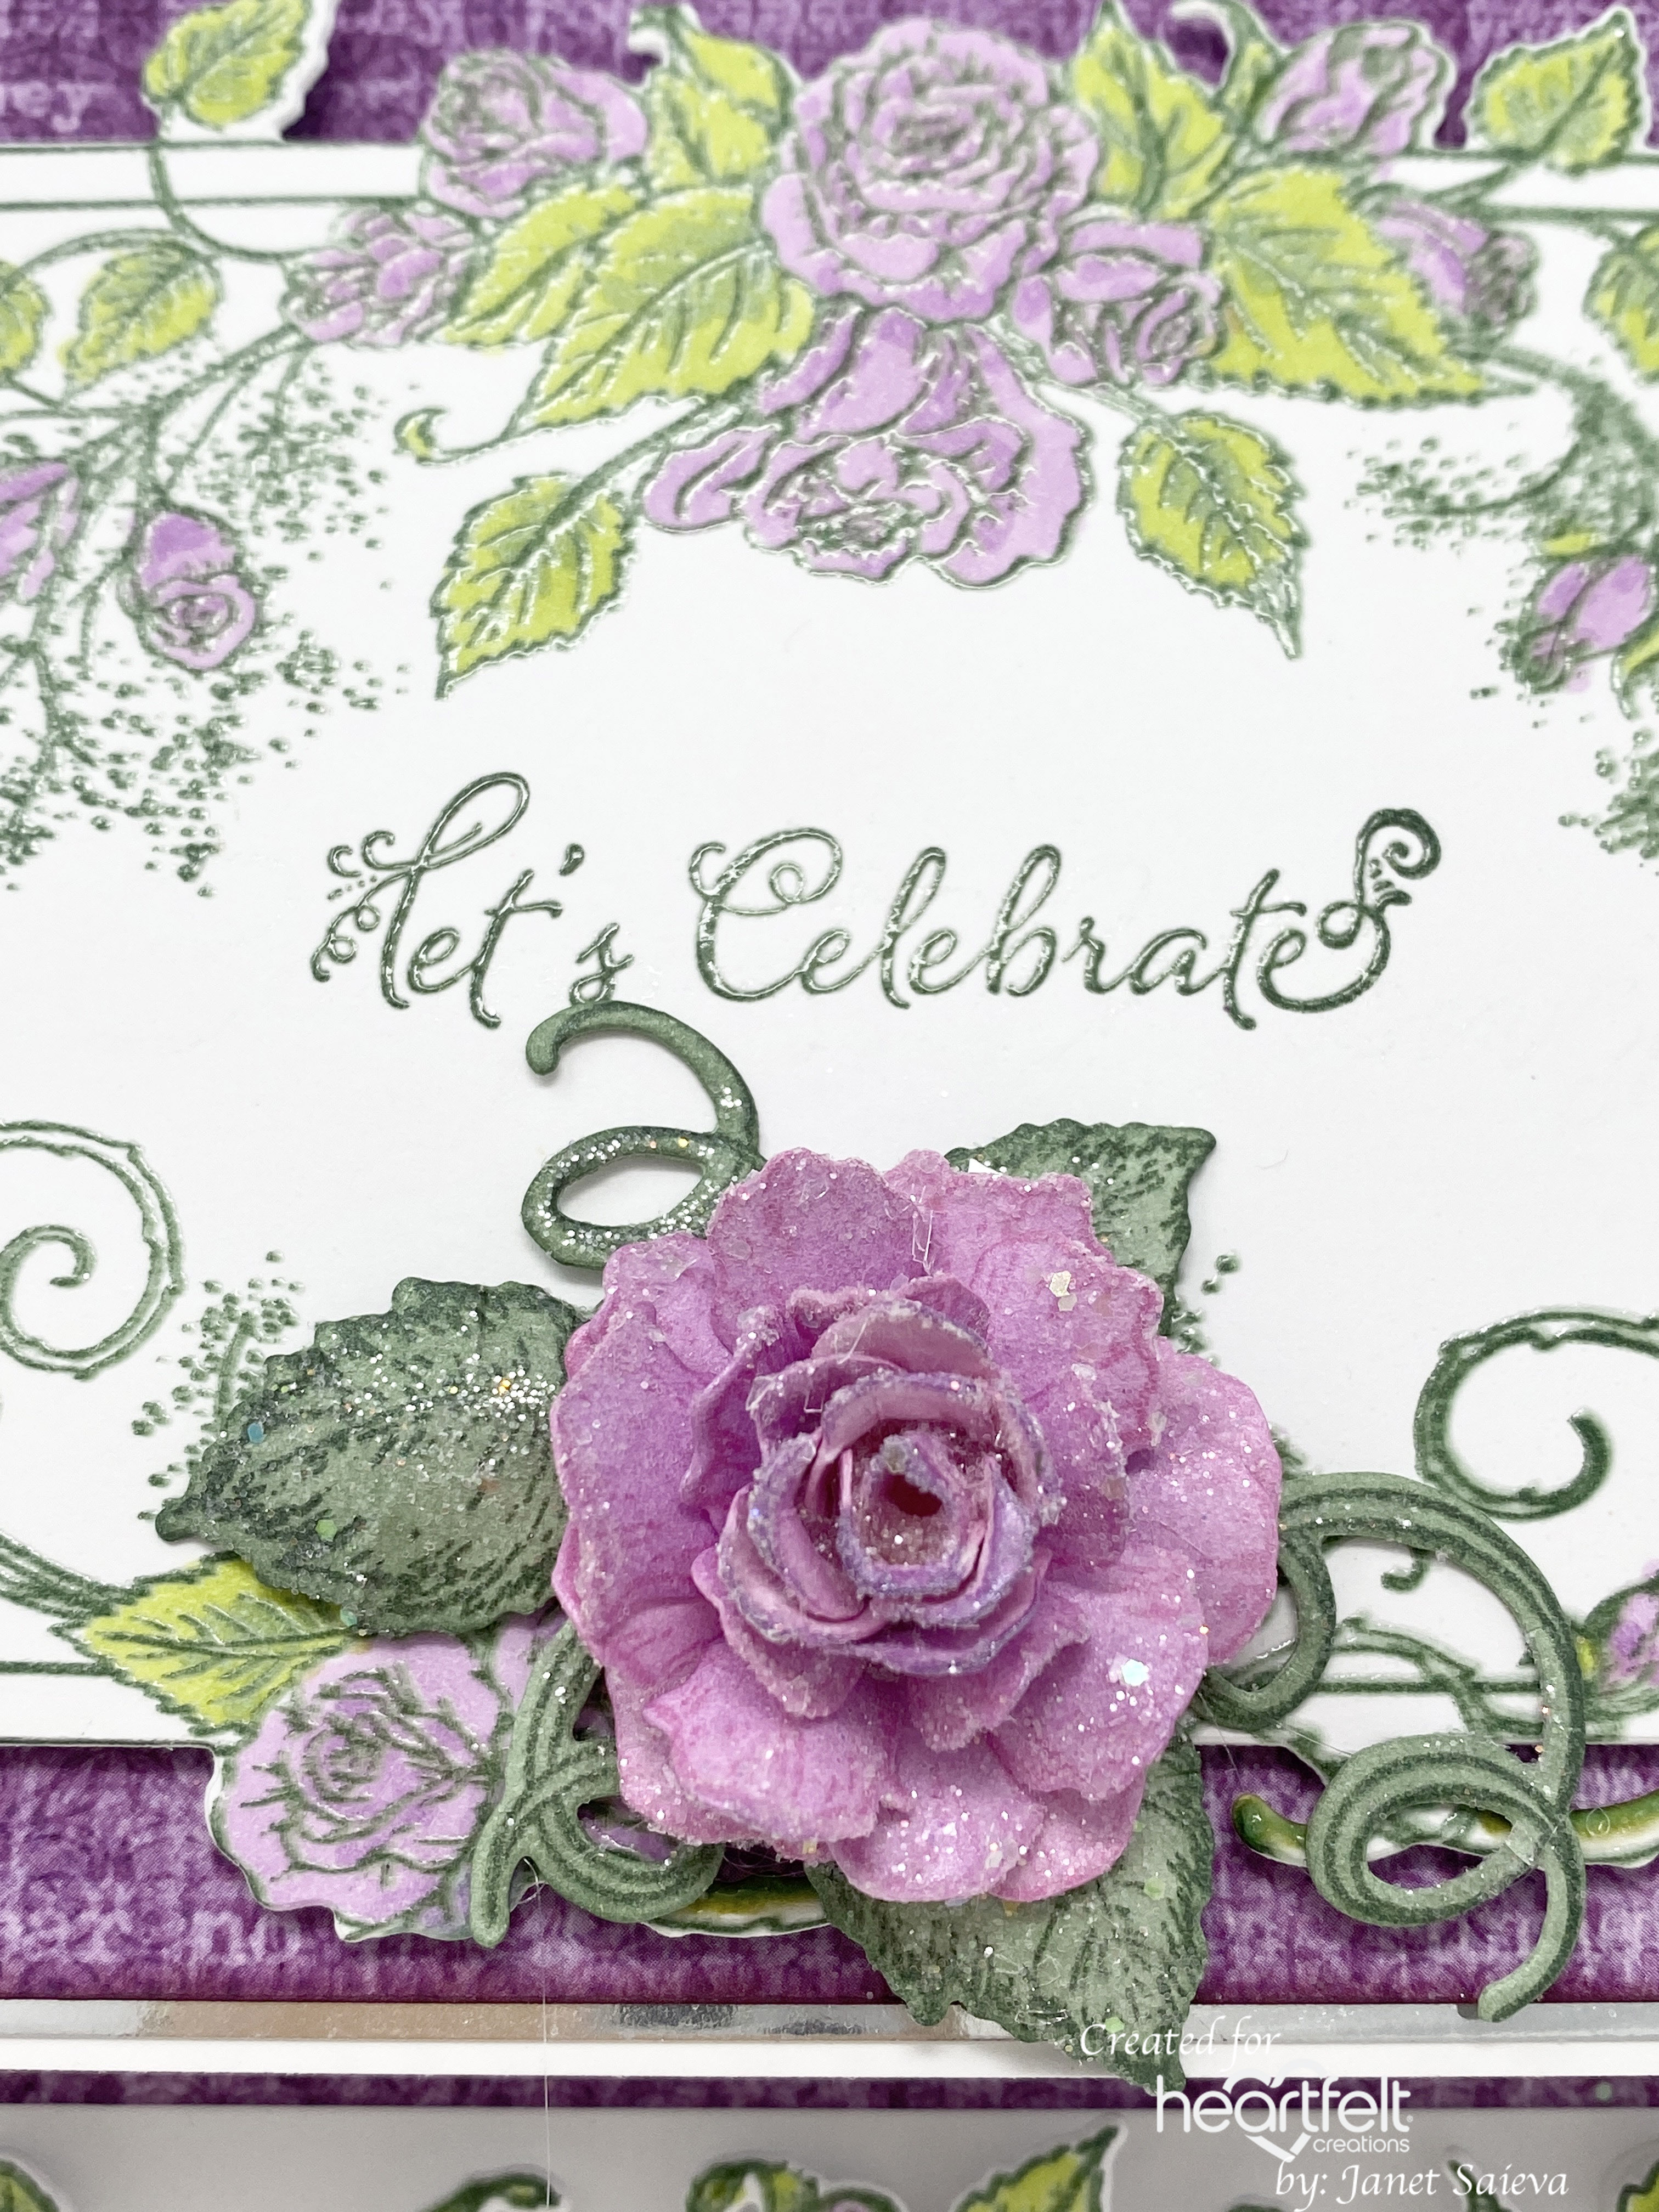
Using the Rectangle Filigree Frame Die, cut all of the decorative dies 2x, once from white cardstock and once from Luxe Silver cardstock. Adhere the silver diecuts behind the white diecuts, slightly offset so that the silver is just peeking through. Adhere to the card front using dries clear adhesive. Stamp the ‘Happy Anniversary’ sentiment from the Celebrate Love Sentiments on the smallest diecut using VersaMark, sprinkle with WOW Metallic Silver Sparkle Embossing Glitter and heat set using the Heat It Tool. Adhere this to the center of the card front using dimensional squares.

Stamp the Classic Roses on Deluxe Flower Shaping Paper using Brilliance Pearlescent Orchid ink, diecut using the coordinating dies, color using Pearlescent Purple and Pearlescent Orchid inks and shape using the Groove Golf Tool and the Deluxe Flower Shaping Kit. Use three of the largest flowers and three of the next size flowers to create the large rose. Use two of the third size and three of the fourth size flowers to create the medium roses. Adhere the flowers together using hot glue.

Stamp the leaves from the Classic Rose and the leaves from the Large Floral Urn and the Leafy Accent leaves on Deluxe Flower Shaping Paper using Pearlescent Ivy ink and diecut using the coordinating dies. Color the Classic Rose leaves and the Leafy Accent Leaves using the Pearlescent Ivy ink and color the leaves from the Large Floral Urn using Pearlescent Ivy and Pearlescent Purple. Shape the leaves using the Deluxe Flower Shaping Kit. Use a paint brush to add dries clear adhesive to the roses and leaves and sprinkle with Rajni Chawla’s Crystal Clear Glitter.

Stamp the ‘Hope your day is as special as you are.’ sentiment from the Just For You Sentiments Cling Stamp set on the center off-cut from the Rectangle Filigree Frame Die using VersaMark, sprinkle with WOW Metallic Silver Sparkle Embossing Glitter and heat set using the Heat It Tool. Adhere to the inside of the card.

Adhere the roses and leaves to the card front using hot glue.

You can find out which products I used for my project in the Heartfelt Creations Gallery.

Please be sure to also visit the Heartfelt Creations Blog to see all of the absolutely gorgeous projects created by the fabulous Design Team. I promise, you won't be disappointed!

Thank you so much for stopping by, I really appreciate you!

Till we meet again, please stay safe and be well!

Have a beautiful day!

Crafty Hugs, 🤗🤗🤗

Janet

Wednesday, October 19, 2022

Heartfelt Creations - Stylish Fancy Fold Gift Card

 Hi and welcome!

Ouch, it's getting chilly out there! I'm glad I'm inside crafting today.

I absolutely love fun fold cards and I especially love this one. It was so fun to make using the beautiful Elegant Rose Frames Collection.


Instructions: Card size is 6 x 6". Score and fold 12 x 6” Deluxe Flower Shaping Paper at 6” to create a 6 x 6” side fold card base. Score and fold 10 1/2 x 6” white cardstock at 4 1/2” adhere to card front with the fold on top. Cut Luxe Silver cardstock 5 7/8 x 5 7/8” x2 and 5 7/8 x 4 3/8”. Cut sheet 12B 5 3/4 x 5 3/4”, 5 3/4 x 4 1/4 and 5 7/8 x 2 1/2” (for pocket) and ink the edges using archival Plum ink. Cut a 6 x 6” panel from sheet 10A trim to 5 3/4 x 5 3/4” stamp ‘Hope your day is as special as you are’ from Just For You Sentiments Cling Stamp set using Archival Plum ink. Ink the edges, adhere to a silver 5 7/8 x 5 7/8” sheet and adhere to the inside of the card. Adhere the sheet 12B pieces to the silver mat layers and adhere to the card front outside and inside panels. Use a decorative corner punch on the corners of the pocket and use a circle punch to cut a half circle in the middle. Adhere to the inside of the card front. Cut ‘A Gift For You’ from white cardstock using the Ornamental Tags Die and adhere to pocket.

Using a stamping platform, stamp Stylish Rose Frame along with the ‘Let’s Celebrate’ sentiment from the Celebrate Love Sentiments Cling Stamp set, the Stylish Rose swag and the ‘have a wonderful day’ Elegant Rose Sentiment on white cardstock using Brilliance Pearlescent Ivy ink. Stamp again using VersaMark, cover with Ranger Clear Embossing Powder and heat set using the heat it tool. Color using Stampin Blend markers and diecut the frame and the swag using coordinating dies. Cut the sentiment to 5 3/4 x 3 3/4” and punch the corners using a decorative punch. Adhere to the inside front as shown. Adhere the Stylish Rose Frame to the card front using dimensional squares. Cut white cardstock 5 x 1”, round corners, adhere to the bottom of the card front and adhere the Stylish Rose swag using dimensional dots.

Stamp the Classic Roses on Deluxe Flower Shaping Paper using Brilliance Pearlescent Orchid ink, diecut using the coordinating dies, Color using Pearlescent Purple and Pearlescent Orchid and shape using the Groove Golf Tool and the Deluxe Flower Shaping Kit. Use two of the third size and three of the fourth size flowers to create the medium rose. Adhere the flowers together using hot glue.

Stamp the leaves from the Classic Rose on Deluxe Flower Shaping Paper using Pearlescent Ivy ink and diecut using the coordinating die. Color leaves using the Pearlescent Ivy ink and shape using the Deluxe Flower Shaping Kit. Use a paint brush to add dries clear adhesive to the rose and leaves and sprinkle with Rajni Chawla’s Crystal Clear Glitter. Adhere to the center bottom of the Stylish Rose Frame.

Please check out the Heartfelt Creations Gallery to get a list of all the products used on my project.

Also, please be sure to check out the Heartfelt Creations Blog to see all of the gorgeous projects created by the fabulous Design Team.

Thank you so much for stopping by, I really appreciate you!

Till we meet again, please stay safe, be well and keep warm!

Have a beautiful day!

Crafty Hugs, 🤗🤗🤗

Janet


Wednesday, October 12, 2022

Heartfelt Creations - Debuting the Elegant Rose Frames Collection

 Hi and Welcome!

Today we're debuting the beautiful Elegant Rose Frames Collection!

"Are you a crafter that loves making stamped framed cards but sometimes feel limited, or uninspired? Do you feel stuck when trying to add extra beauty and decoration to the confines of a card? Don’t waste another minute feeling frustrated with limitations! Recover your joy of crafting with the new Elegant Rose Frame stamps and dies! These elegant frame dies are designed to be paired with coordinating stamps which allow you to create quick and easy one-of-a-kind framed cards paired with one of a kind sentiments; perfect for any paper crafting project! From beginners to advanced crafters, the Elegant Rose Frames Collection gives you professional looking results the quick and EZ way!'

My card for the debut is very simple and very easy to mail in a standard envelope!


Instructions: Card size is 7 x 5”. Score and fold 10 x 5” white cardstock at 5” to create tent fold card base. Cut two gold mat layers 6 7/8 x 4 7/8”. Cut two white mat layers 6 1/2 x 4 1/2”. Using an embossing folder, dry emboss one of the white mat layers, adhere it to one of the gold mat layers and adhere to the card front. (You can create the same affect of the embossing folder I used by using your sore board and stylus.) Stamp the Elegant Rose ‘Happy Birthday to You' Sentiment using VersaMark on the second white mat layer, cover with gold embossing powder and heat set using the Heat It tool. Color the roses and the leaves using Stampin' Blend markers and adhere to the inside of the card.

Using the Elegant Rose Frame Cling Stamp Set, stamp on white cardstock using VersaMark, cover with gold embossing powder and heat set using the Heat it Tool. Color the roses and the leaves using Stampin' Blend markers, diecut using the coordinating die and adhere to the card front using adhesive foam strips.

At this point you could add a sentiment to the card front, but I love the simplicity and elegance of the way it is.

You can find the rest of the details for my card in the Heartfelt Creations Gallery

Please be sure to visit the Heartfelt Creations Blog to see all of the absolutely gorgeous projects created by the fabulous Design Team.

Thank you so much for stopping by, I really appreciate you!

Till we meet again, please stay safe and be well.

Have a beautiful day!

Crafty Hugs, 🤗🤗🤗

Janet


Wednesday, October 5, 2022

Heartfelt Creations - Eyelet Gate Hollyhock

Hi and welcome!

October is here and along with it came lots of rain, chilly temps and wind! Ugh!

So happy I have my paper flowers to make it feel like warmer weather. 

Today's card is a super simple one that is easy to mail. 


Instructions: Finished card is 4 1/4 x 6 1/2”. To create center step fun fold card base, cut white cardstock to 11 x 4 1/4”. using a paper trimmer cut at the one-inch mark on the short side rom 4 1/2” to 10” on both sides. Place the long side on score board and score at 4 1/2” just to the cut lines. Score at 5 1/2” inside the two cuts and outside the cuts at 9” and 10” on both sides. Fold at the score lines. The 4 1/2” and 5 1/2” and 10” score lines are mountain folds and the 9” score lines are valley folds.

Using the Eyelet Frame Gateway Die, cut white cardstock using the third largest eyelet edge die and adhere to the card front as shown using dries clear adhesive. Using the eyelet Ticket and Tags Die, cut from white cardstock to fit the bottom of the card front. Stamp the ‘for my friend’ sentiment from Just for You Sentiments Cling Stamp set in Lovely Lipstick ink and adhere using dries clear adhesive.

Stamp the Hollyhock Stem & Blooms on white cardstock using Leaf Green ink and color using Leaf Green ink and Stampin’ Blend Light Lovely Lipstick marker, shape using the Deluxe Flower Shaping kit, sponge with dries clear adhesive and sprinkle with Rajni Chawla’s crystal clear glitter. Add dries clear adhesive to the flower centers and sprinkle with You Had me at Yellow Prills and let dry. Adhere an EZ Stem Floral wire behind the stem using hot glue for stability, then adhere to the card front using dimensional dots.

Stamp the ‘sending you a hug’ sentiment from the Just for You Sentiments Cling Stamp set on the inside of the card using Lovely Lipstick ink.

Visit the Heartfelt Creations Gallery for a list of the products used on my card. Please also visit the Heartfelt Creations Blog to see all of the absolutely gorgeous projects created by the fabulous design team.

Till we meet again, please stay safe and be well!

Have a beautiful day!

Crafty Hugs, 🤗🤗🤗

Janet