Wednesday, July 27, 2022

Heartfelt Creations - Silver Snowflakes and Purple Poinsettias

Hi and welcome!!!

As we're getting through a heat wave, it's so wonderful to think about Christmas. Today's card is full of sparkle and snowflakes. So cooling!


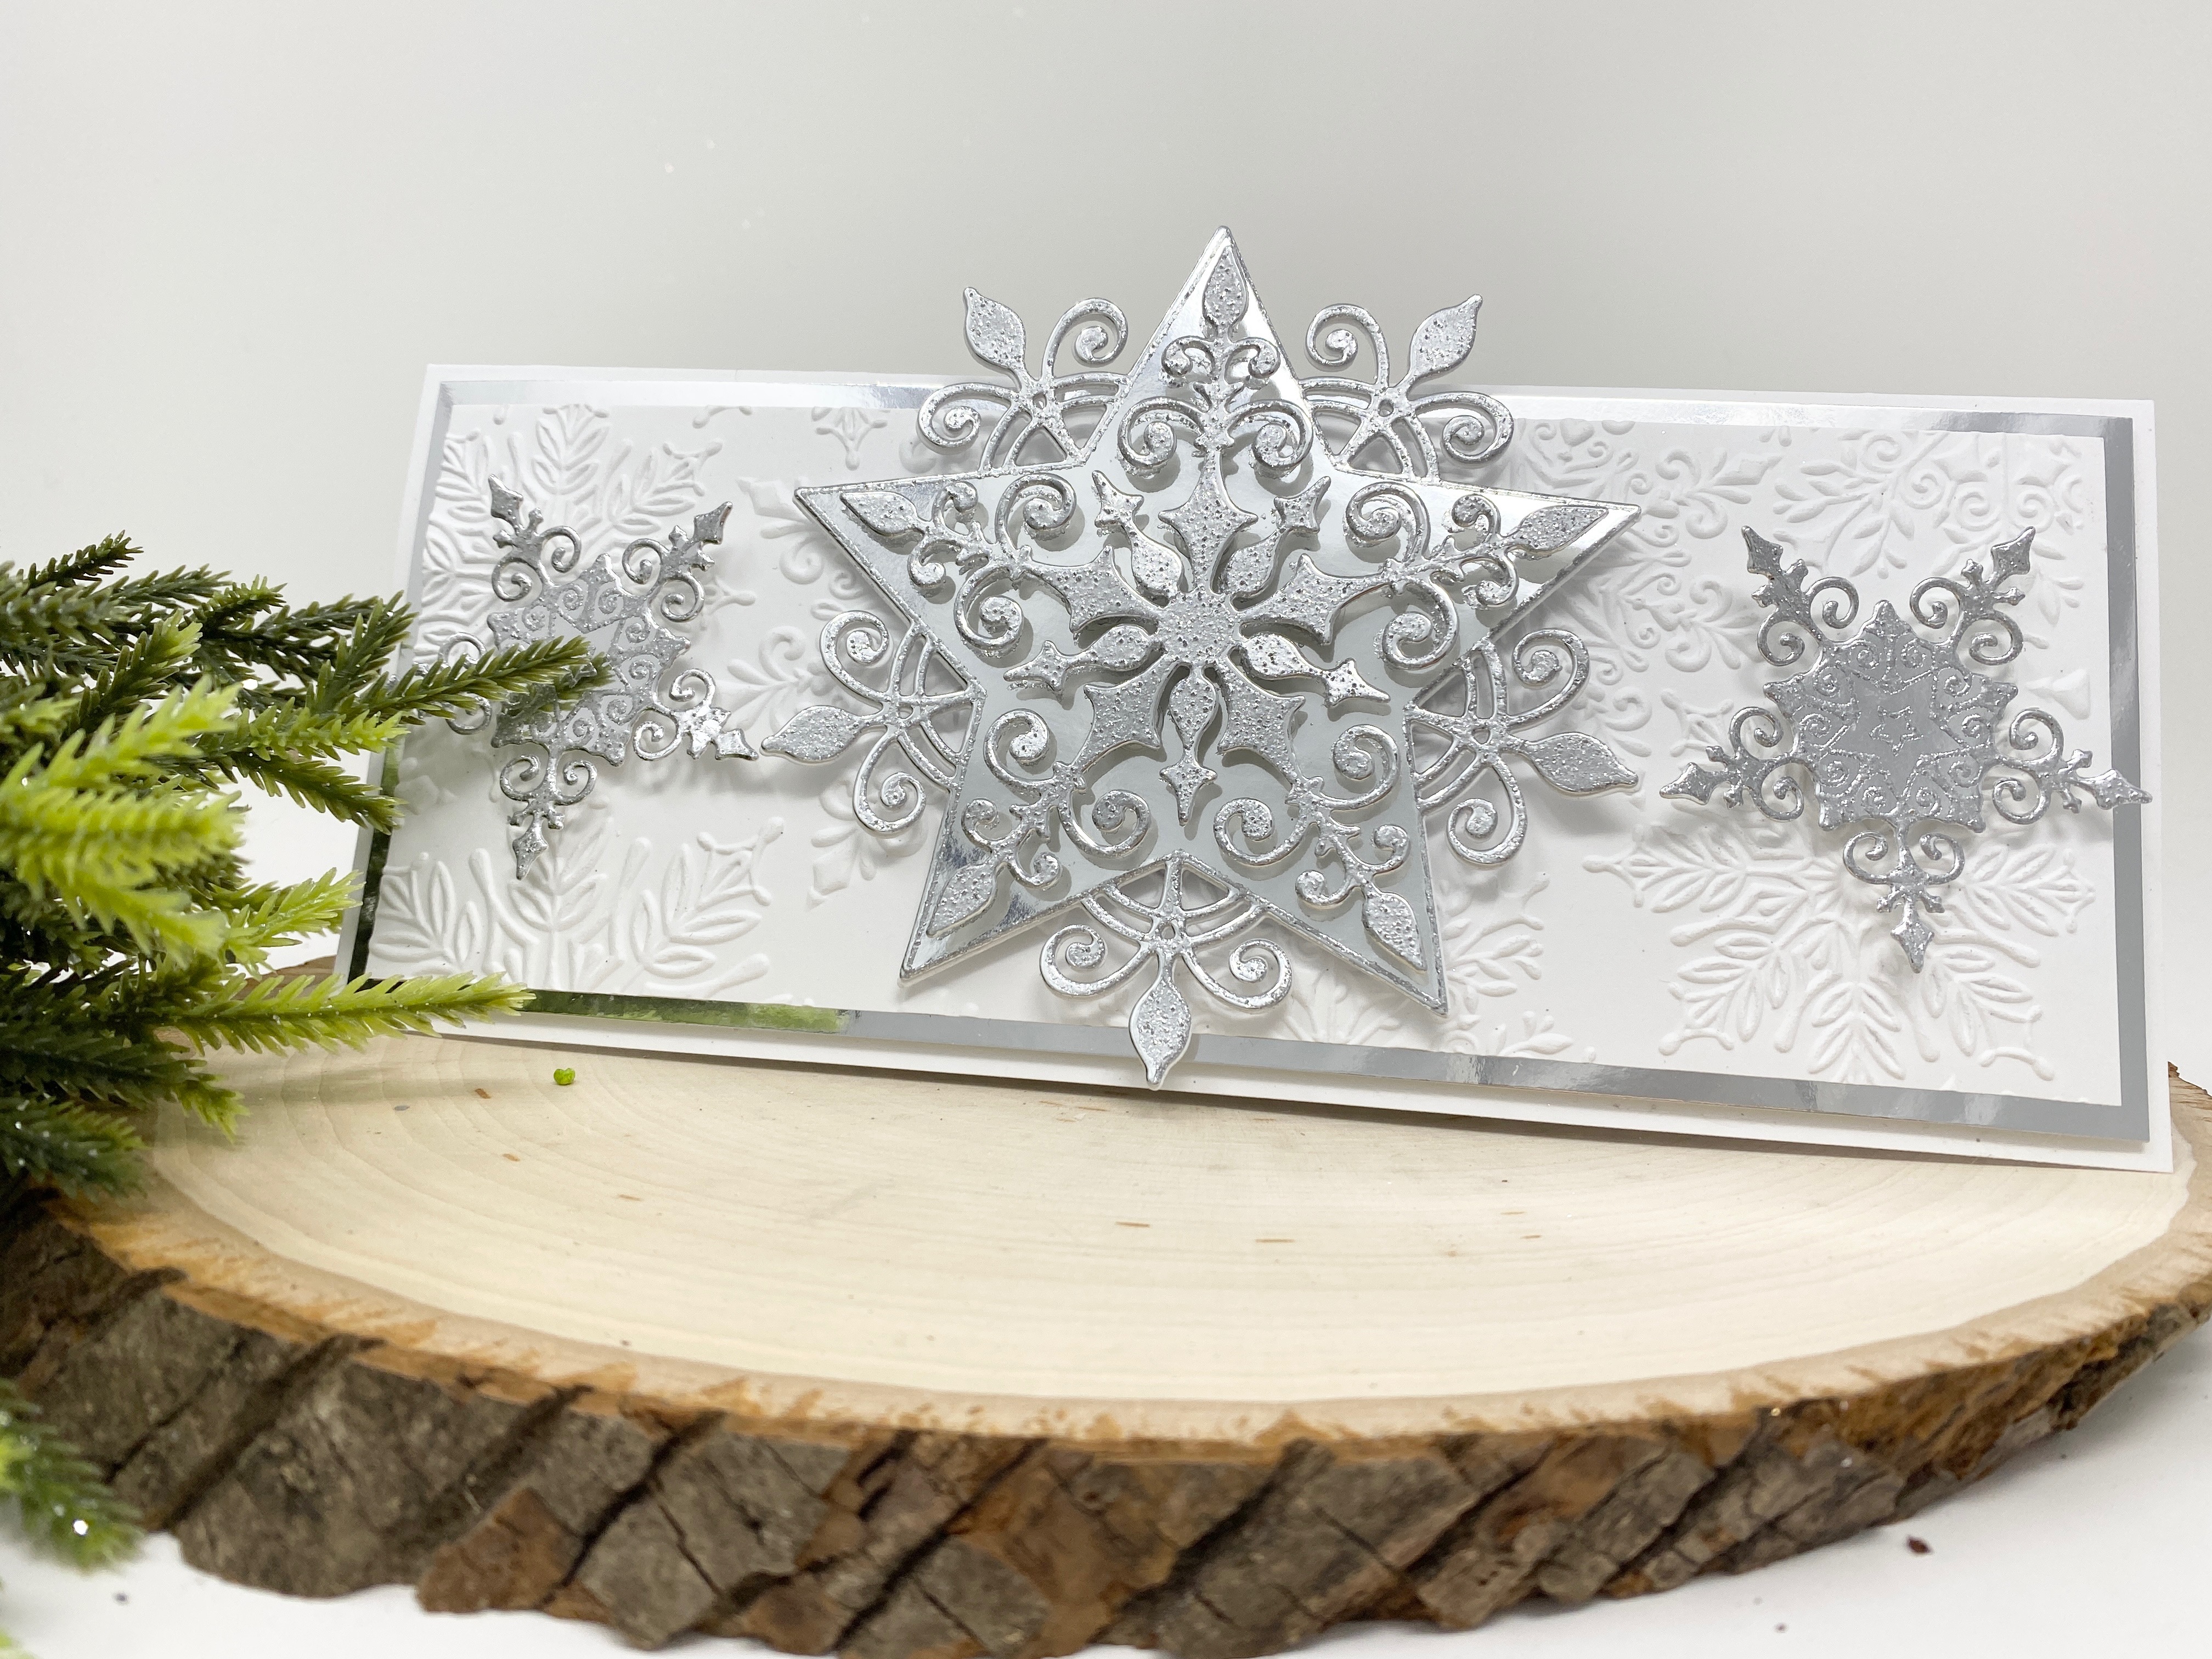
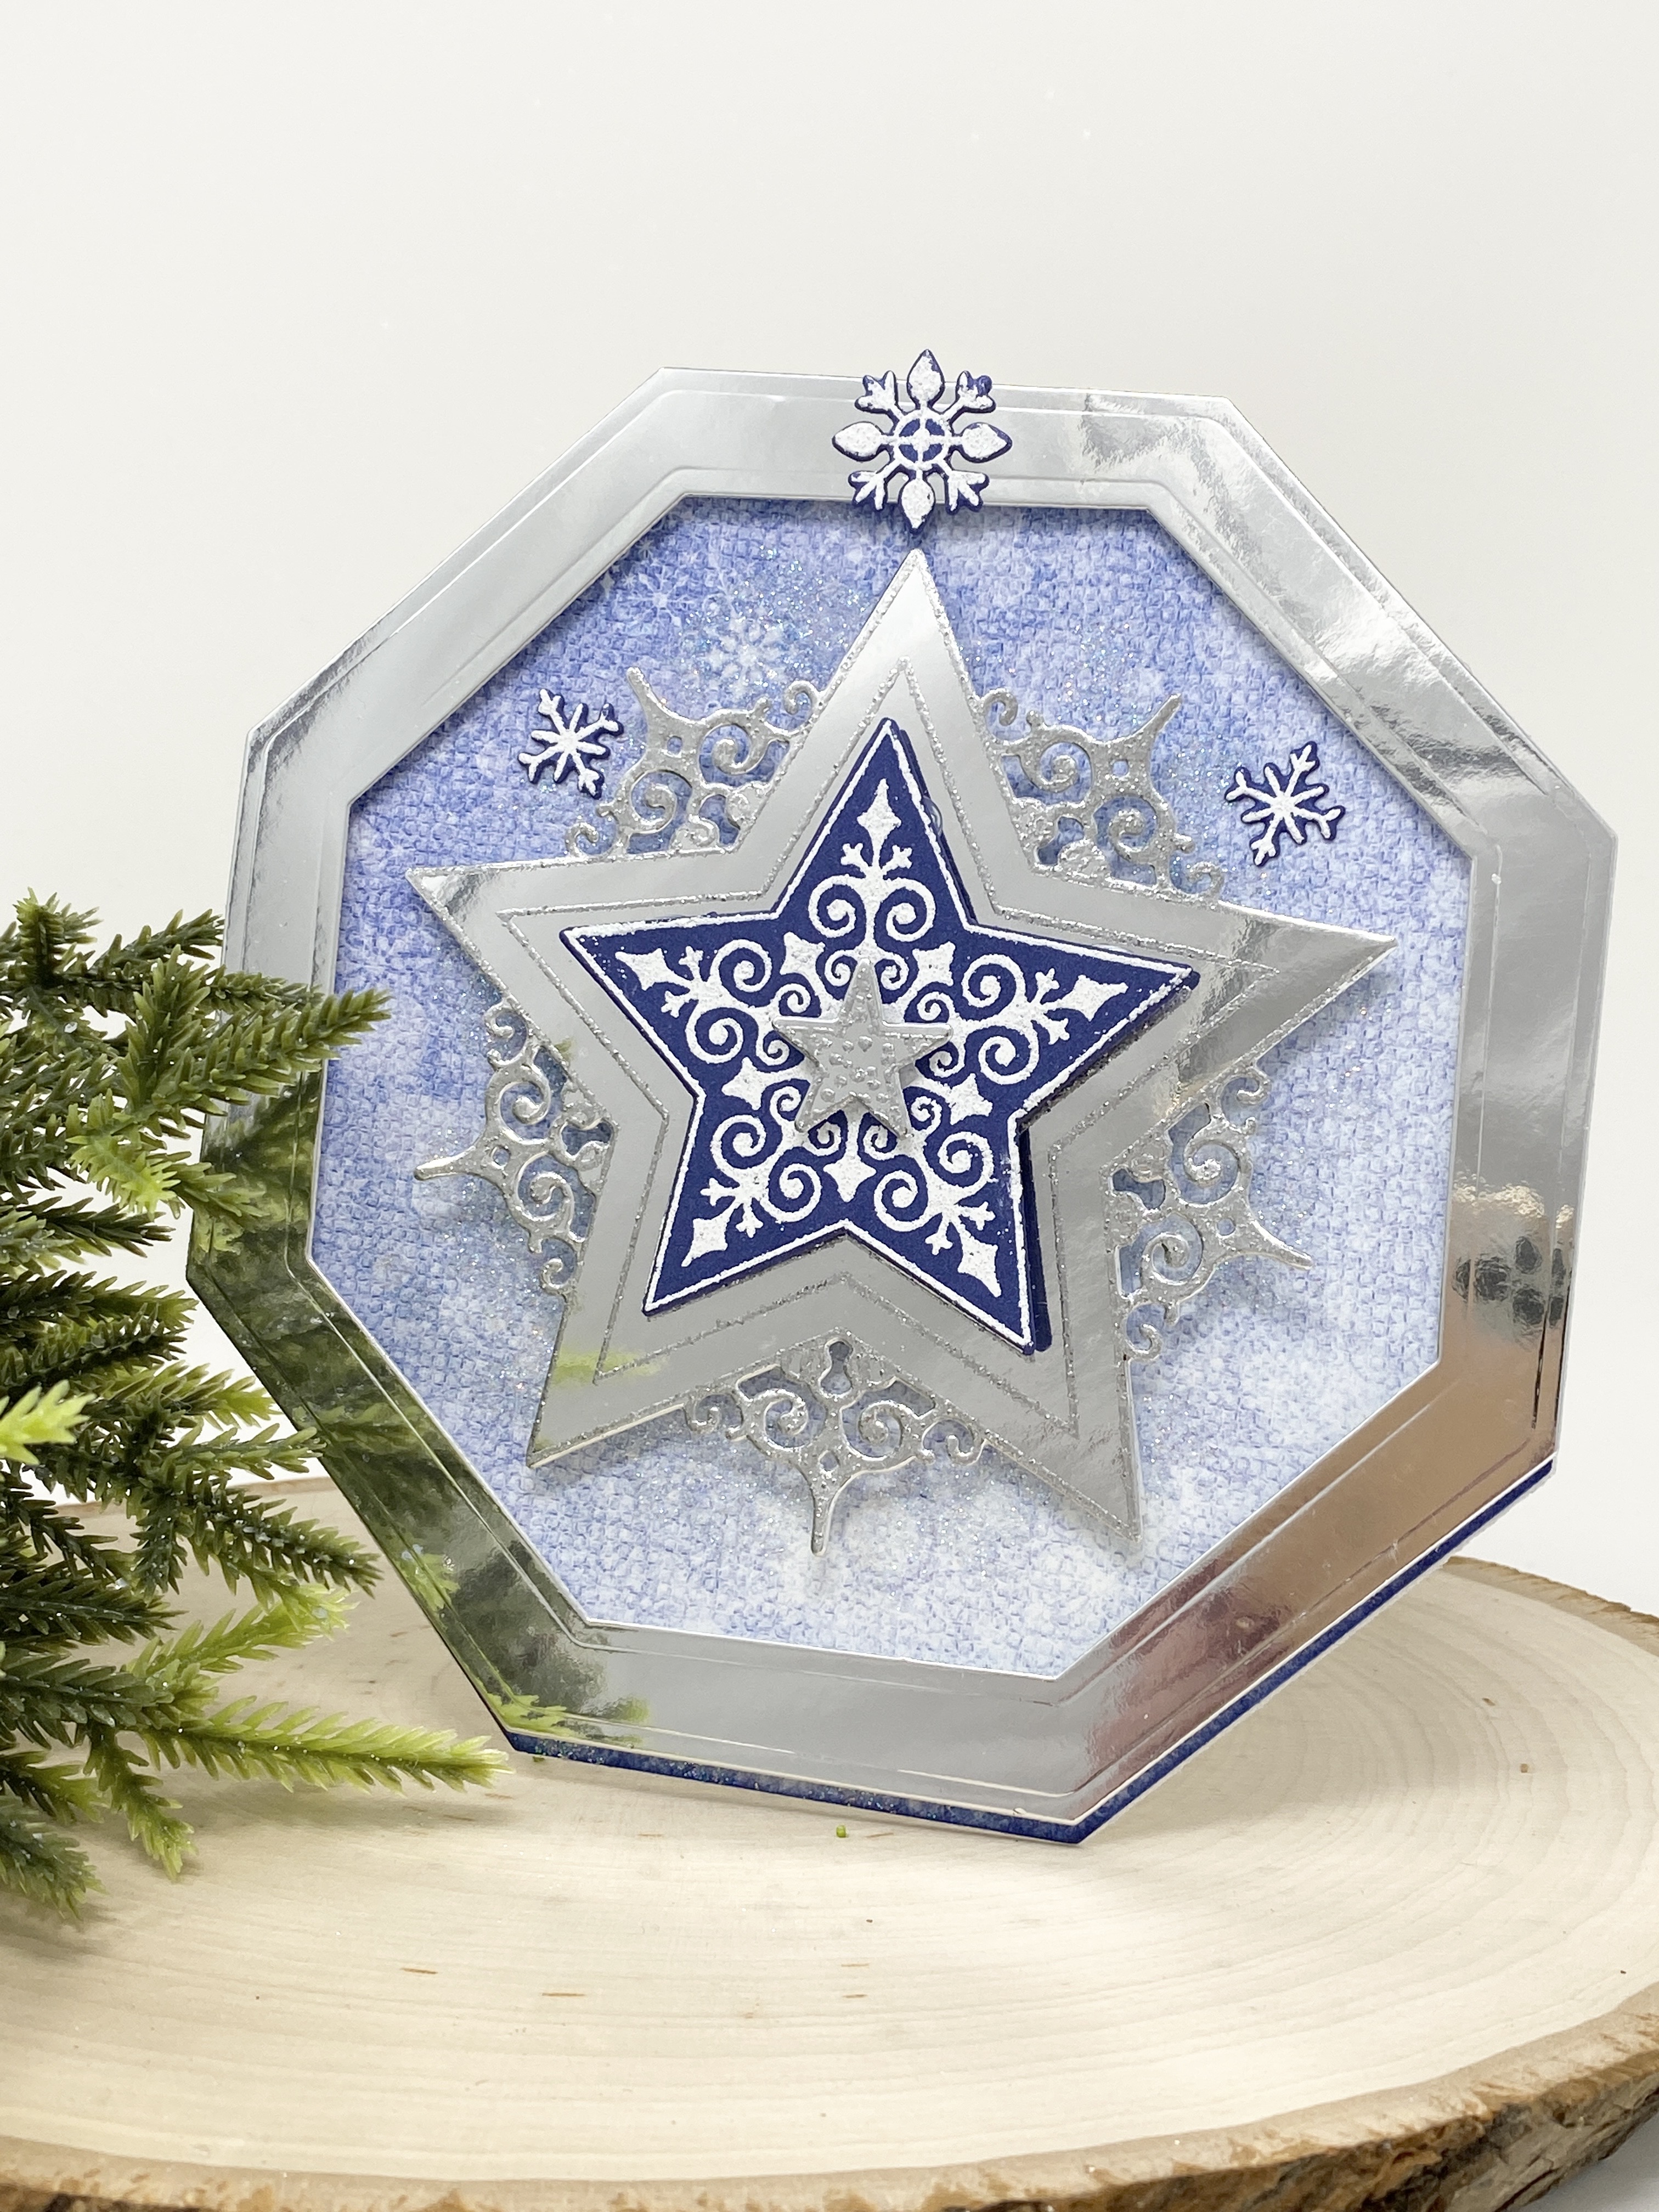
Instructions: Card size is 6 x 6”. Score and fold 11 1/2 x 5 3/4” Deluxe Flower Shaping Paper at 5 3/4” to create tent fold card base. Trim 6 x 6” panel from Sheet 10A Holiday Star Paper Collection to 5 3/4 x 5/34” and adhere to card front. Cut sheet 4B to 5 5/8 x 5 5/8”, ink the edges using Archival Petunia ink and adhere to the inside of the card. Stamp ‘Merry Christmas’ from Holiday Star Cling Stamp set on white cardstock using Petunia ink, diecut using the Holiday Star label die and adhere to the inside.

Using the Courtyard Elegance Die, cut from white cardstock, sponge with dries clear adhesive and sprinkle with Rajni Chawla’s Crystal Clear glitter. When dry, adhere to card front.

Stamp the Large Holiday Star 1x and the snowflakes 2x from the same set on Luxe Silver Cardstock using VersaMark ink and cover with WOW Metallic Silver Sparkle Embossing Glitter. Heat set using the Heat It tool. Diecut the snowflakes and the center only of the Large Holiday Star using the coordinating dies. Adhere to the card front using dimensional dots and dries clear adhesive.

Stamp the Small Festive Poinsettia and the Large Festive Poinsettia on Deluxe Flower Shaping paper using Archival Petunia ink, color using the same ink and diecut using the coordinating dies. Add more ink to the edges and color the backs of the flowers. Place in the Small and Large 3D Festive Poinsettia Shaping Molds, spritz with water and run through the diecutting machine. Pierce the centers using the Groove Golf Tool, add silver Assorted Bead Stamens-Medium and secure with hot glue. Use two same size flowers to create each poinsettia.

Stamp the Holly Berry Sprays on Luxe Silver cardstock using VersaMark and Deluxe Flower Shaping paper using VersaColor Pigment ink white, cover the silver with WOW Metallic Silver Embossing Glitter and the white with WOW Sparkling Snow Embossing Glitter. Heat set and diecut with the coordinating dies, Adhere the poinsettias and sprays to the left side of the card front using hot glue.

Add some extra sparkle by sponging the poinsettias with dries clear adhesive and sprinkling with Rajni Chawla’s Crystal Clear Glitter. Sponge the snowflakes on the inside paper and sprinkle with Crystal Ultrafine Transparent glitter.

Please be sure to visit the Heartfelt Creations Gallery to find all the products used on this Christmas card.

The Heartfelt Creations Blog is full of absolutely gorgeous projects created by the fabulous Design Team. Be sure to take a peek!

Till we meet again, please stay safe and be well!

Have a beautiful day!

Crafty Hugs, 🤗🤗🤗

Janet

Wednesday, July 20, 2022

Heartfelt Creations - Triple Silver Stars

 Hi and welcome!

Oh, it's so hot out!!! It's a great day to stay indoors and create beautiful Christmas cards with the Holiday Star Collection. I'm really loving the slimline cards and the Holiday Stars look fabulous on the slimlines. 


Instructions: Finished card size with the star is 8 1/2” x 4 1/4”. Score and fold 8 1/2 x 7” white cardstock at 3 1/2” on the short side to create 8 1/2 x 3 1/2” top fold slimline card base. Cut Luxe Silver cardstock 2x to 8 1/4 x 3 1/4” and cut white cardstock 2x to 8 x 3”. Using a snowflake embossing folder, emboss one of the 8 x 3” white cardstock, adhere to one of the silver cardstock and adhere to the card front using dimensional tape. Stamp the ‘Merry Christmas’ from the Starry Holiday Greetings Cling Stamp set on the other 8 x 3” white cardstock using VersaMark, cover with WOW Metallic Silver Sparkle Embossing Glitter and heat set using the Heat It tool. Cut stars in the corners using a corner punch (Fiskars used here) and adhere to the silver cardstock and then to the inside of the card using dries clear adhesive.

Stamp the Holiday Star and the Large Holiday Star on Luxe Silver cardstock 2x using VersaMark, cover with WOW Metallic Silver Sparkle Embossing glitter and heat set using the Heat It tool. Using the coordinating dies, cut the centers only of the Holiday Star and the full stamped image of the Large Holiday Star along with one cut from white cardstock. Adhere the two large stars together for stability. Diecut only the center of the other Large Holiday Star.

Adhere the diecuts to the front of the card as shown using dimensional squares and and circles as well as dries clear adhesive.

TOP TIP: When adhering dimensionals to embossed cardstock, It's best to add some liquid adhesive to the dimensionals before adhering.

Visit the Heartfelt Creation Gallery to find out which products I used to create this card.

Please also visit the Heartfelt Creations Blog to see all of the gorgeous projects created by the fabulous Design Team.

Till we meet again, please stay safe and be well!

Have a beautiful day!

Crafty Hugs, 🤗🤗🤗

Janet 


Wednesday, July 13, 2022

Heartfelt Creations - Debuting the Holiday Star Collection

 Hi and welcome!

Oh, the hazy lazy days of summer are here and the weather has been absolutely beautiful!

It's the perfect time to cool you off with our first Christmas Collection of the year! Isn't it amazing???


Instructions: Card size is 5 1/2 x 5 1/2”. Using the second largest Simple Centerpiece Die, place just above the fold of a 5 3/4 x 5 3/4” white card base and diecut. Score and fold the card front in the middle to create an easel base. Using the same die, cut another full panel from white cardstock and adhere to the bottom of the folded card front. Using the same die, cut 2x from Holiday Star Paper Collection sheet 3B, ink the edges using Cobalt Blue ink, adhere one to the card front, trim the other to fit the inside of the card and adhere. Randomly sponge the designer papers with dries clear adhesive and sprinkle with Crystal Ultrafine Transparent glitter. Using the second largest and the fourth largest Simple Centerpiece Dies, cut a frame from Luxe Silver Cardstock and adhere to the card front using dimensional tape.

Using the Holiday Star Cling Stamp set, stamp two times, once on Luxe Silver cardstock using VersaMark ink, cover with WOW Metallic Silver Sparkle Embossing Glitter, stamp again on blue metallic cardstock using VersaColor White ink and cover with WOW Sparkling Snow Embossing Glitter. Heat set both using the Heat It Tool. Diecut the full silver star and diecut the blue star using the third Holiday Star Die. Stamp the small stars from the Large Holiday Star Cling Stamp Set on Luxe Silver cardstock using VersaMark ink and cover with WOW Metallic Silver Sparkle Embossing Glitter. Stamp the snowflakes from the same set on metallic blue cardstock using VersaColor white ink and cover with WOW Sparkling Snow Embossing Glitter. Heat set both and diecut using the coordinating dies.

Adhere the silver Holiday Star to the center of the card front using two layers of adhesive foam strips. Adhere the blue star on top of the silver star using dimensional squares. Adhere one of the small silver stars to the center using a dimensional square. Adhere a few of the snowflakes using dries clear adhesive.

Stamp the ‘Merry Christmas’ from the Starry Holiday Greetings Cling Stamp set on Luxe Silver cardstock using VersaMark ink, cover with Metallic Silver Sparkle Embossing Glitter and heat set. Diecut using the Starry Holiday Greetings Die. Diecut six more times from white cardstock, adhere the layers together with the silver layer on top to create a'stop' for the easel.

Check out the Heartfelt Creations Gallery to find out which products I used on my card.

Please be sure to also visit the Heartfelt Creations Blog to see all of the gorgeous projects created by the fabulous Design Team!

Thank you so much for stopping by! I really appreciate you!

Till we meet again, please stay safe and be well.

Have a beautiful day!!! 

Crafty Hugs, 🤗🤗🤗

Janet


Wednesday, July 6, 2022

Heartfelt Creations - Tri-Color Anniversary Sweet Pea

 Hi and Welcome!

Happy Anniversary to my hubby and me!

Today is our 59th so I thought I'd make a pretty anniversary card.

Hope you like it!


Instructions: Card size is 5 x 7”. Score and fold 10 x 7” white cardstock at 5” on the long side to create side fold card base. Cut metallic purple cardstock 2x to 4 3/4 x 6 3/4 inches and adhere one to inside card and one to card front. Cut white cardstock 2x to 4 1/2 x 6 1/2”, dry emboss one and adhere to card front. Stamp the sentiment ‘Have a sweet day!’ from the Classic Floral Vase Stamp set using Majestic Violet Archival ink on the second one and adhere to the inside. Cut a piece of paper from The Sweet Pea Paper Collection 1 x 4 1/2” and adhere to the bottom of the inside white cardstock.

Stamp the wide Classic Floral Vase on purple metallic cardstock using VersaMark, cover with WOW Royal Crush Embossing glitter and heat set using the Heat It tool. Diecut using the coordinating die, place in embossing folder and run through the diecutting machine to emboss. Using the 4th smallest Eyelet Circle & Basics Small Die, cut two circles from craft foam and adhere to the back of the vase to puff up the center. Add dries clear adhesive to the bottom and sides of the vase. I used the wider end of the vase as the bottom on this card.

Stamp the Sweet Pea flowers on Deluxe Flower Shaping Paper using Majestic Violet ink, color using Majestic Violet, Paradise Teal and Cactus Flower inks. Stamp the calyx on Deluxe flower Shaping paper using Olive Archival ink and color with Leaf Green ink. Diecut using the coordinating dies and add a little Majestic Violet ink to the edges of the flowers and Olive ink to the edges of the calyx. Color the backs of the flowers. Add the diecut flowers to the Sweet Pea mold, spritz with water and run through the diecutting machine. Pinch all the edges of the flowers while still wet to get the desired shape. Stamp the Vining Sweet Pea on Deluxe Flower Shaping Paper using Majestic Violet and Olive inks. Color using Majestic Violet, Paradise Teal and Cactus Flower inks. Tear apart and adhere one flower to the vase using hot glue.

Stamp the leaves from the Large Floral Urn Cling Stamp set using Olive ink, color front and back using Leaf Green ink, diecut using coordinating die, add color to the edges using Olive ink and shape using the Deluxe flower Shaping kit.

Stamp the sentiment ‘Happy Anniversary’ from the Celebrate Love Sentiments Cling Stamp set on Rajni Chawla’s Flowerite vellum using Paradise Teal ink and diecut using the Arrows and Banners Die. Adhere over the bottom of the vase at an angle using hot glue.

Sponge the flowers and leaves with Dries Clear Adhesive and sprinkle with Rajni Chawla’s Crystal Clear glitter. Adhere to the top of the vase as shown.

The list of all the products used on my card can be found in the Heartfelt Creations Gallery.

Please be sure to visit the Heartfelt Creations Blog to see all of the absolutely gorgeous projects created by the fabulous Design Team.

Thank you so much for stopping by, I really appreciate you!

Till we meet again, please stay safe and be well!

Have a beautiful day!

Crafty Hugs, 🤗🤗🤗
Janet