Hi and welcome!
March is coming to a close and I'm hoping that this cold weather departs along with it. We need warmer temperatures in April.
My card feels like spring, though! I'm loving these sweet peas.


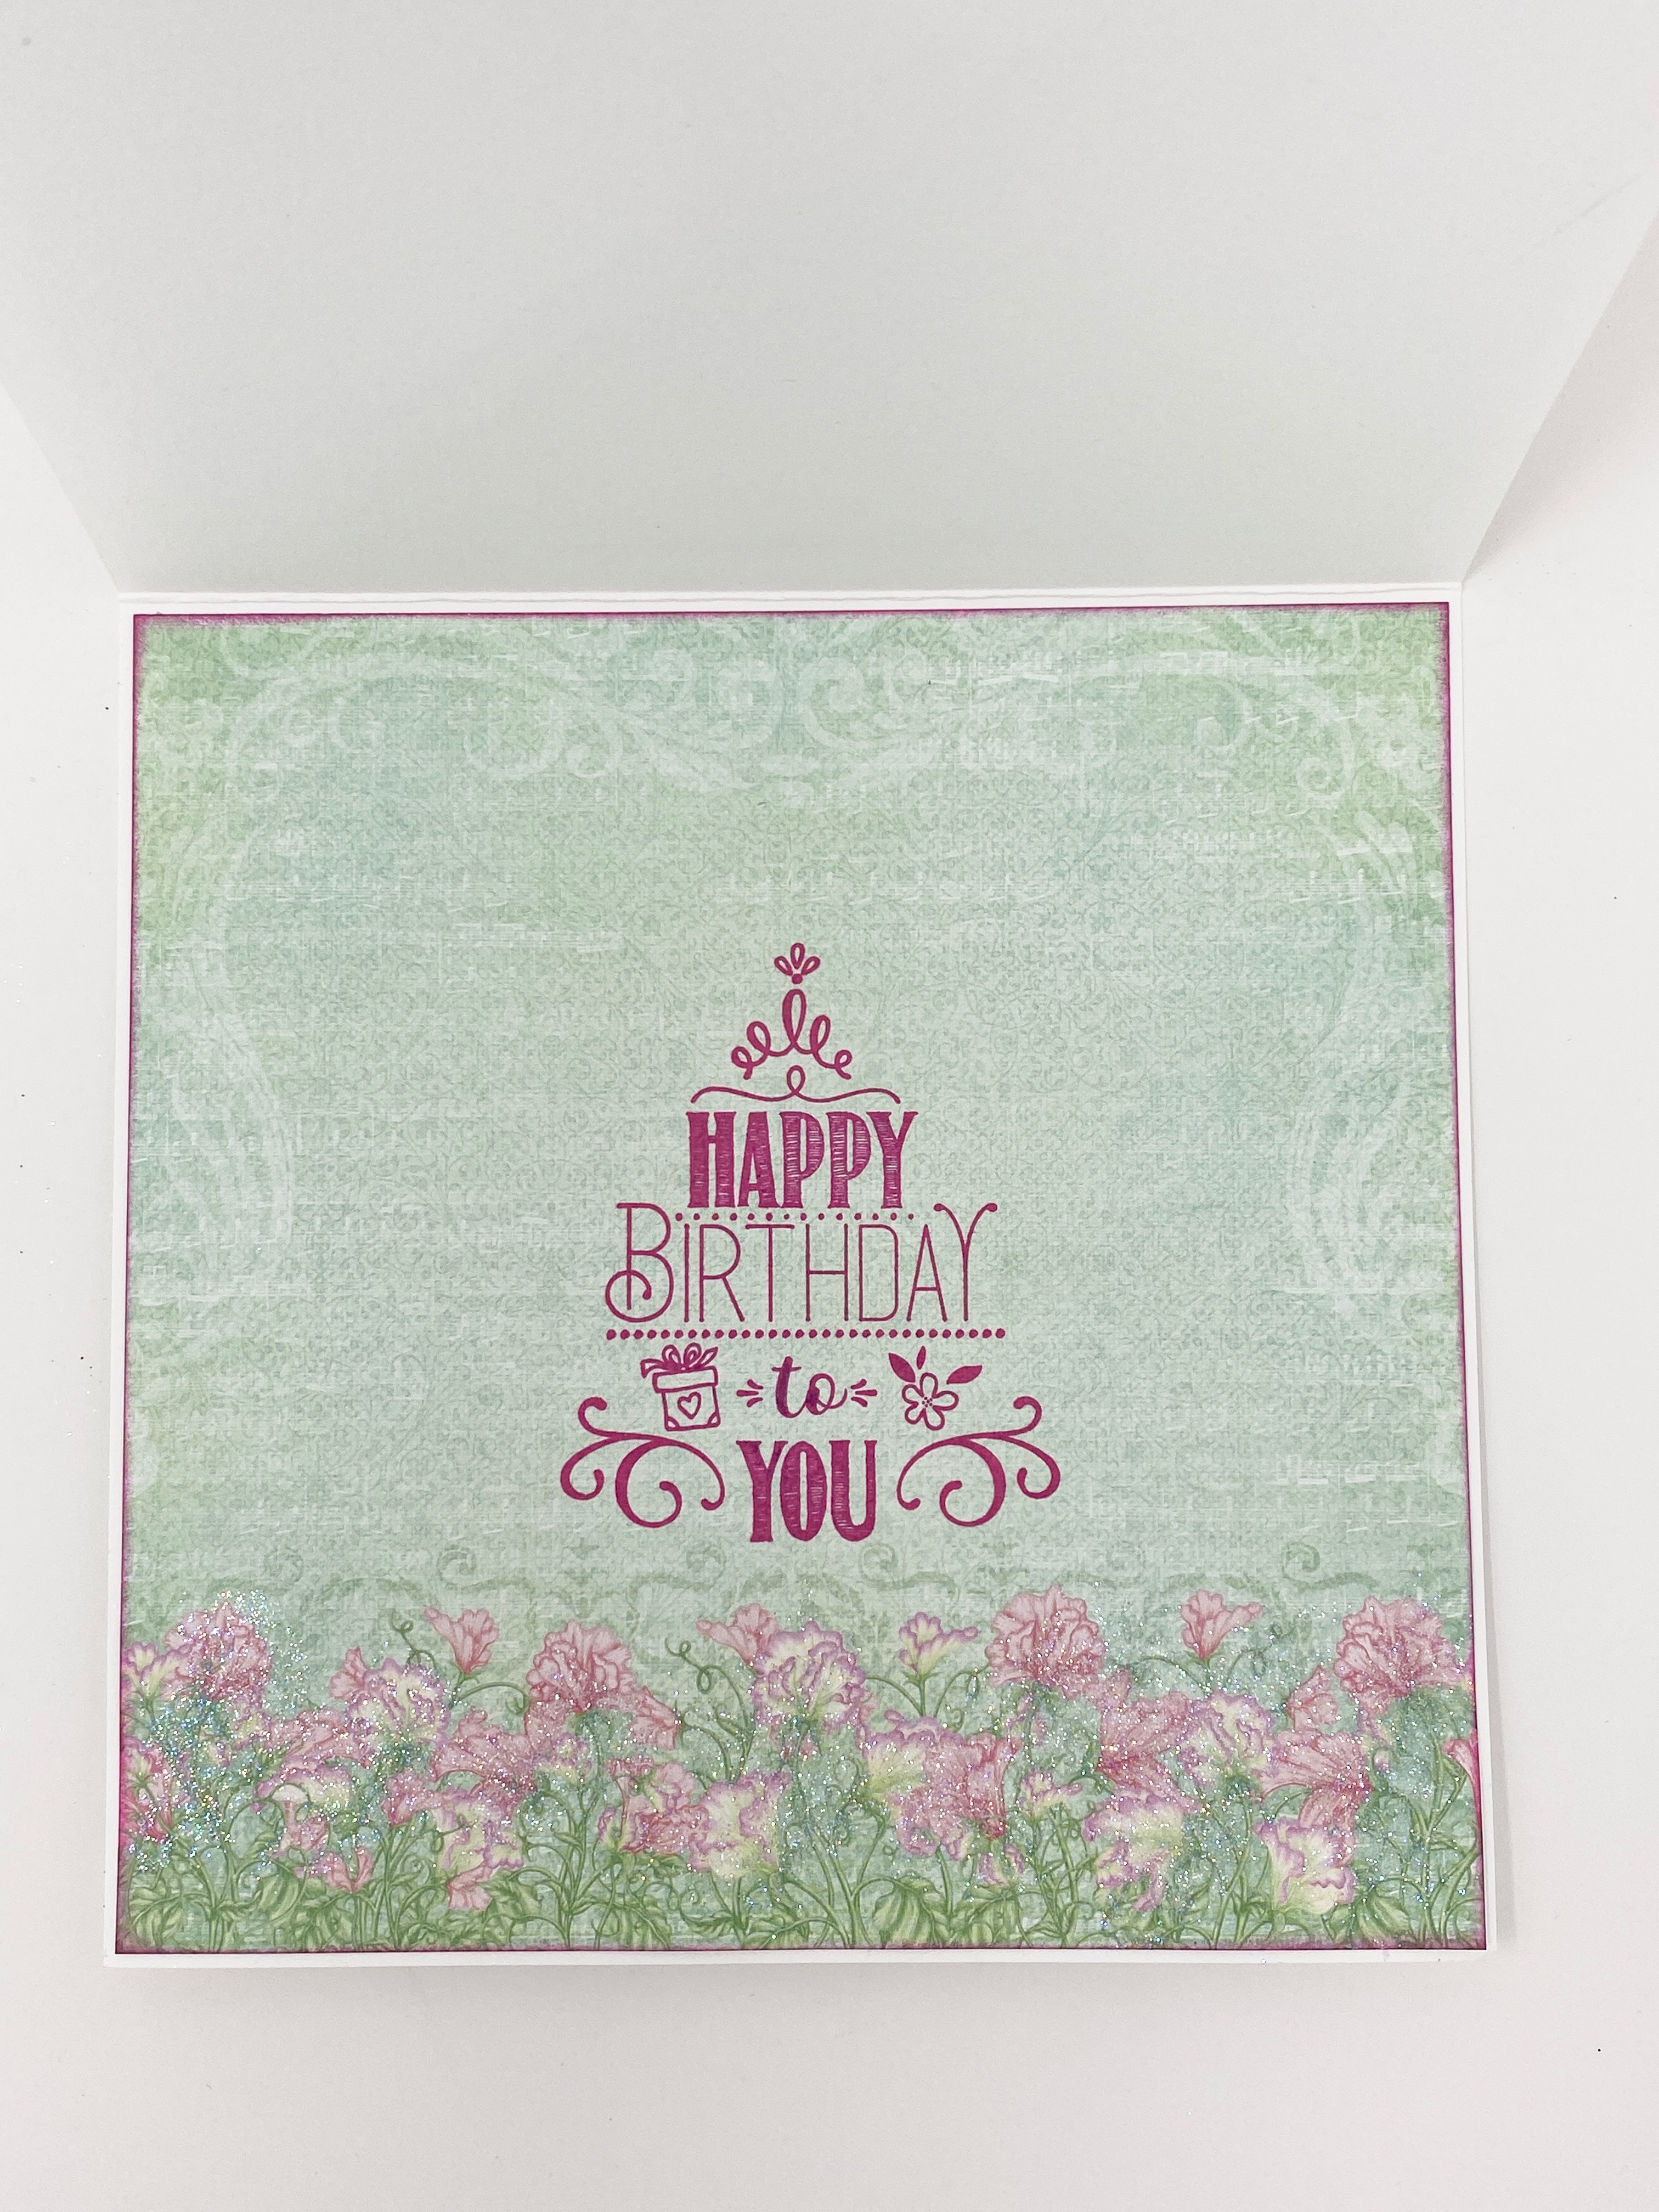
Instructions: Card size is 6 x 6”. Score and fold 12 x 6” Deluxe Flower Shaping Paper at 6” on the long side to create card base. Cut a 5 7/8 x 5 7/8 piece of white cardstock and ink the edges using Deep Purple ink. Cut a 6 x 6” panel from the Sweet Pea Paper Collection sheet 11A, trim to 5 3/4 x 5 3/4” and adhere to the previous mat layer. Adhere the two to the card front using dries clear adhesive. Cut another 6” panel from sheet 11A, trim to 5 7/8 x 5 7/8”, ink the edges, stamp the ‘Hope your day is as Special as you are’ sentiment from the Special Birthday Sentiments Cling Stamp set using Deep Purple ink and adhere to the inside of the card using dries clear adhesive.
Using the Classic Floral Vase Die, cut the decorative die from white cardstock x3. Cut one in half, save the one half for another project, then adhere the two whole and one half diecuts together. Sponge with dries clear adhesive and sprinkle with Rajni Chawla’s Crystal Clear Glitter. Adhere to the card front using dries clear adhesive as shown.
Stamp the Sweet Pea flowers and leaves on Deluxe Flower Shaping Paper using Deep Purple and Leaf Green inks, color the centers of the flowers with the Deep Purple and color the leaves with the Leaf Green. Stamp and color the calyx using Leaf Green. Diecut all using the coordinating dies, add more color to all the edges and color the backs of the flowers and leaves. Place the flower petals, the leaves and the calyx in the 3D Sweet Pea Mold face down, spritz with water and run through the diecutting machine to shape. Add a little additional shaping using the Deluxe Flower shaping kit. Adhere the three petals to the top of the two petals and the calyx to the bottom to create flowers. Create one large and two small flowers and one large and two small leaves. Sponge with dries clear adhesive and sprinkle with Rajni Chawla’s Crystal Clear glitter. Adhere the flowers and leaves on the decorative diecuts using hot glue.
Make a multiloop bow from satin cord and adhere under the large sweet pea flower. Add some sparkle to the card front and the inside by randomly dabbing with dries clear adhesive and sprinkling with Crystal Ultrafine Transparent glitter.
You can find out what products I used by visiting the Heartfelt Creations Gallery.
Please be sure to visit the Heartfelt Creations Blog! The fabulous Design Team has outdone themselves once again!
Till we meet again, please stay safe and be well!
Have a beautiful day!
Crafty Hugs,
Janet