Hi and welcome!
Oh, the hazy lazy days of summer are here and the weather has been absolutely beautiful!
It's the perfect time to cool you off with our first Christmas Collection of the year! Isn't it amazing???


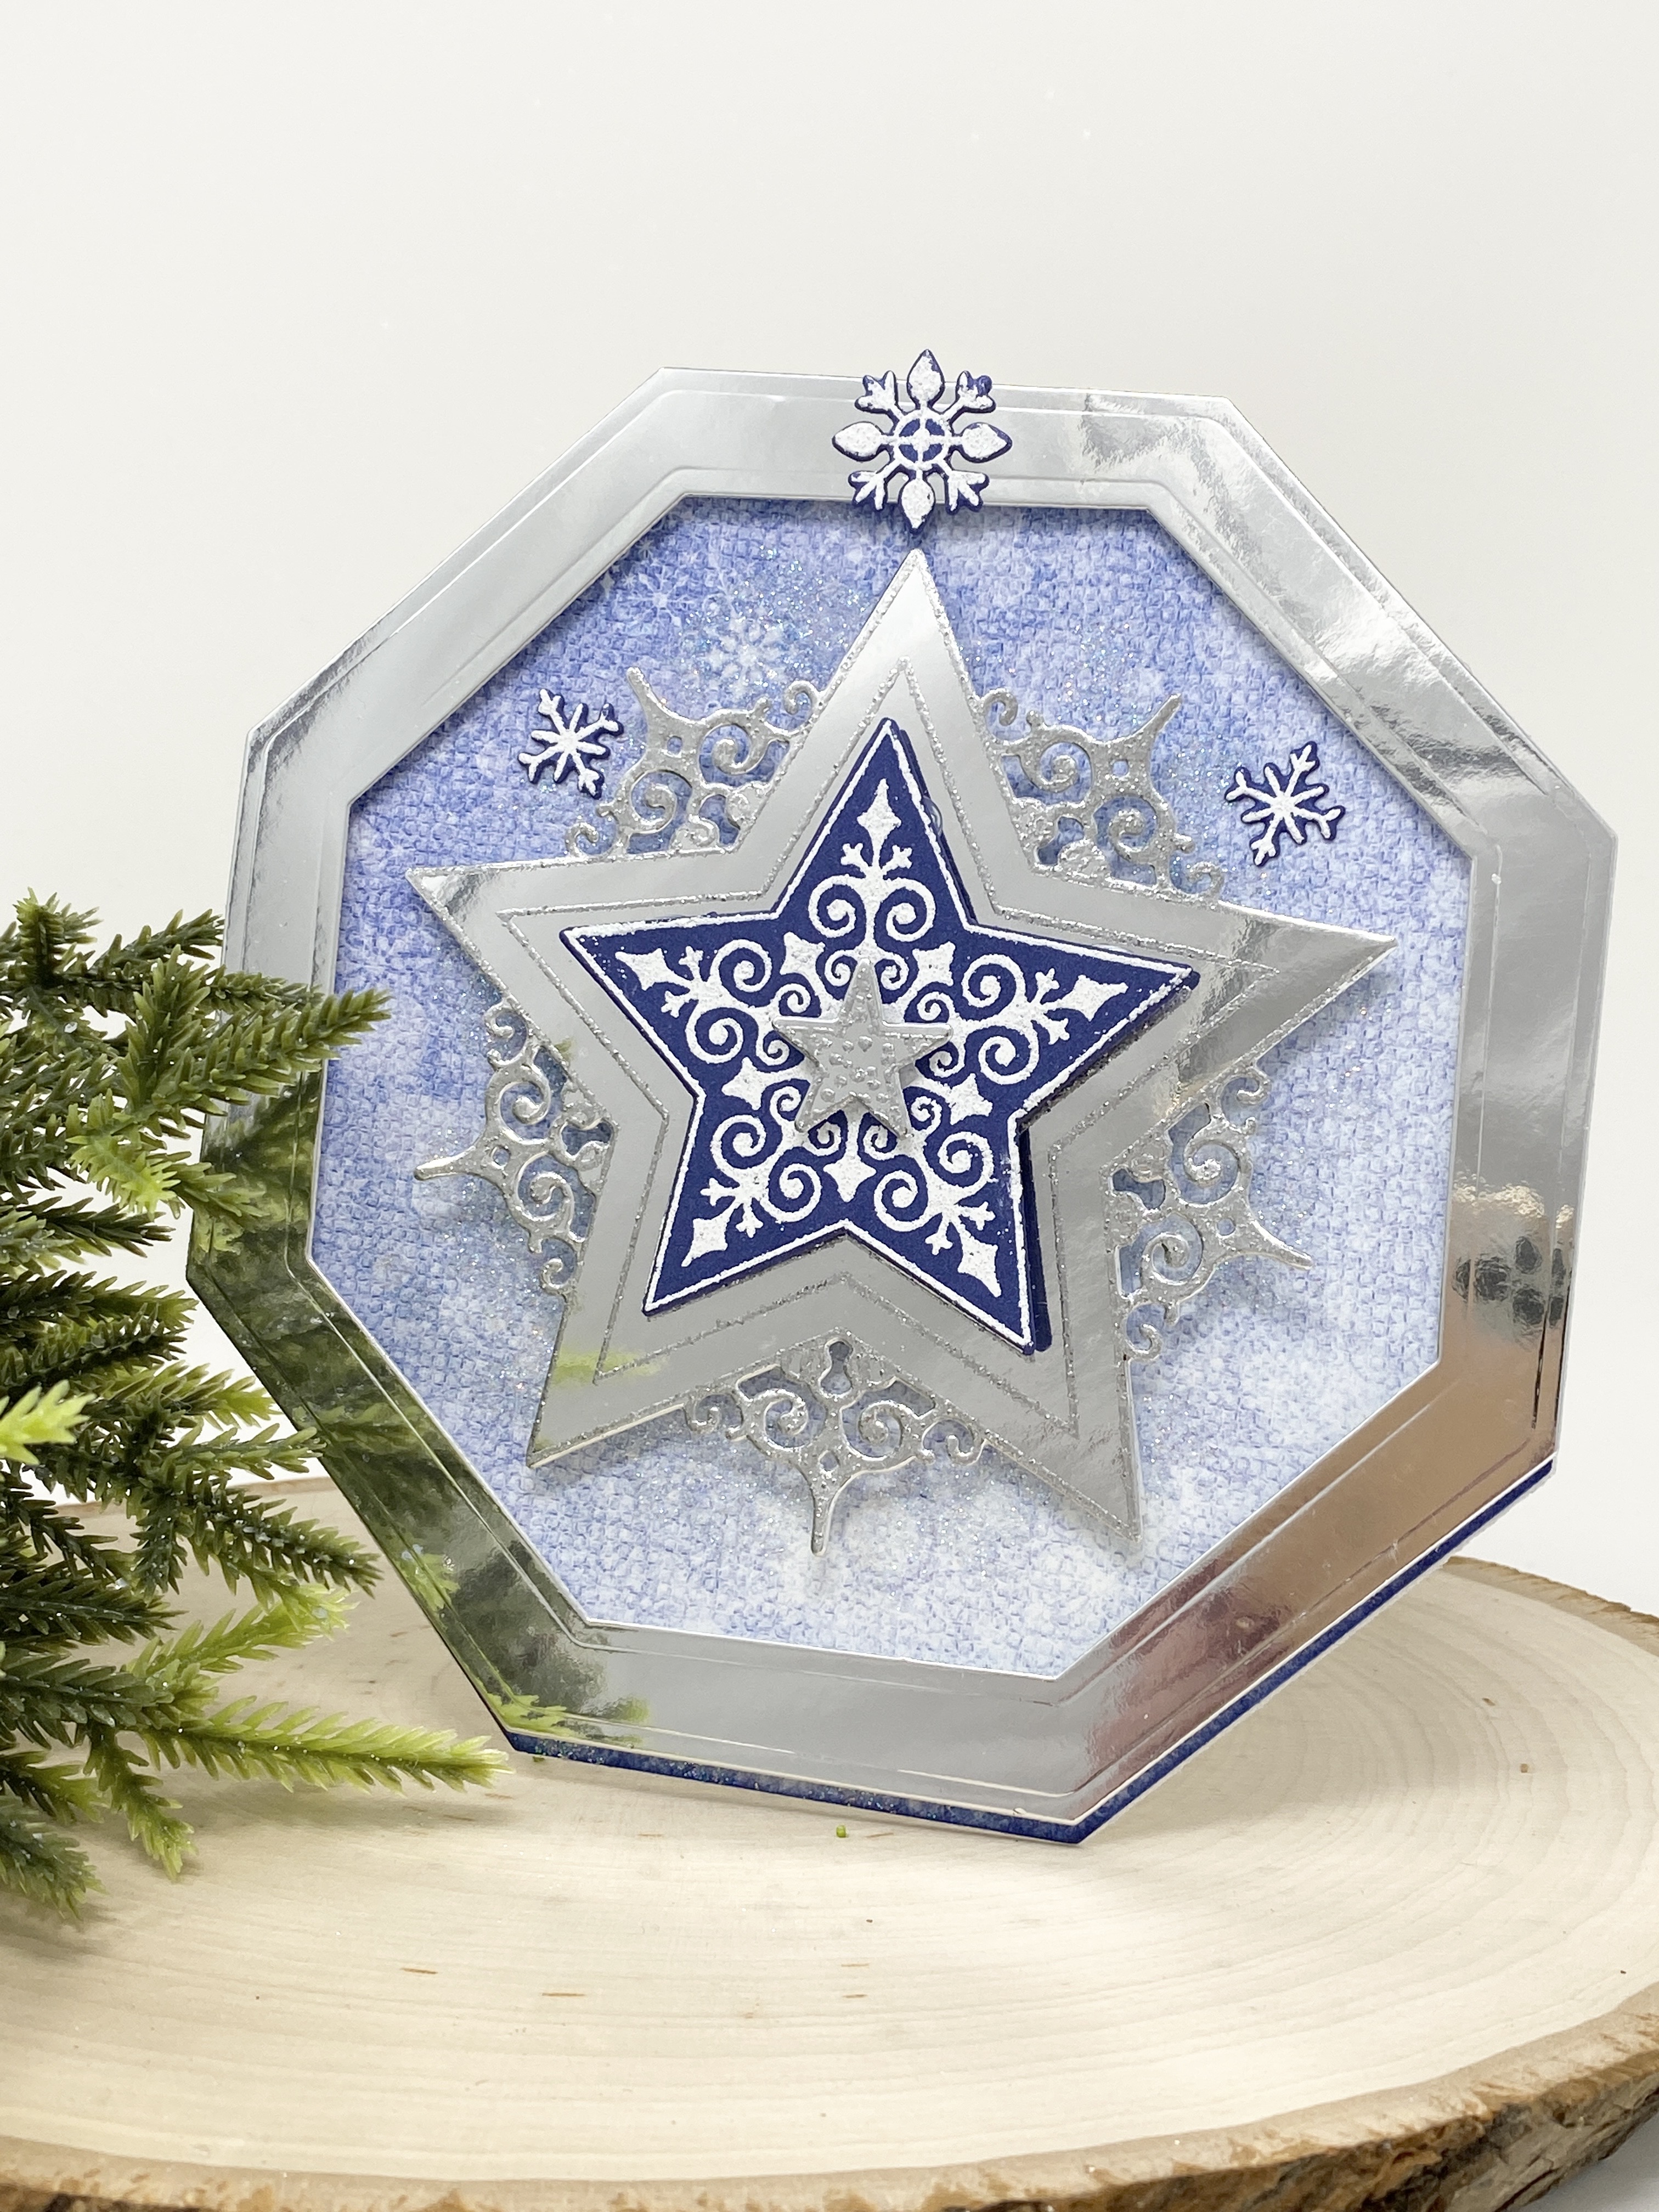


Instructions: Card size is 5 1/2 x 5 1/2”. Using the second largest Simple Centerpiece Die, place just above the fold of a 5 3/4 x 5 3/4” white card base and diecut. Score and fold the card front in the middle to create an easel base. Using the same die, cut another full panel from white cardstock and adhere to the bottom of the folded card front. Using the same die, cut 2x from Holiday Star Paper Collection sheet 3B, ink the edges using Cobalt Blue ink, adhere one to the card front, trim the other to fit the inside of the card and adhere. Randomly sponge the designer papers with dries clear adhesive and sprinkle with Crystal Ultrafine Transparent glitter. Using the second largest and the fourth largest Simple Centerpiece Dies, cut a frame from Luxe Silver Cardstock and adhere to the card front using dimensional tape.
Stamp the ‘Merry Christmas’ from the Starry Holiday Greetings Cling Stamp set on Luxe Silver cardstock using VersaMark ink, cover with Metallic Silver Sparkle Embossing Glitter and heat set. Diecut using the Starry Holiday Greetings Die. Diecut six more times from white cardstock, adhere the layers together with the silver layer on top to create a'stop' for the easel.
Check out the Heartfelt Creations Gallery to find out which products I used on my card.
Please be sure to also visit the Heartfelt Creations Blog to see all of the gorgeous projects created by the fabulous Design Team!
Thank you so much for stopping by! I really appreciate you!
Till we meet again, please stay safe and be well.
Have a beautiful day!!!
Crafty Hugs, 🤗🤗🤗
Janet
3 comments:
Be still my heart! I just love your card! Great design and the colors are gorgeous!
This is so beautiful!! I love the simplicity of the design and the colours that you have used!
So beautiful and elegant card :)
Post a Comment