Happy Wednesday and welcome to my blog!
Today we're debuting the gorgeous Wild Poppy Collection!
"Do you feel limited by your flower sizes and selection and find yourself wanting to create a variety of flower sizes quickly and easily but don't know where to get started? Maximize your creativity with the versatility of the Wild Poppy Collection! Stamp, die cut, and shape your elegant floral arrangements like the experts! Beginners to advanced crafters will have all they need to create stunning florals for all occasions!"
I used the stems for the first time with this card and I just love them.

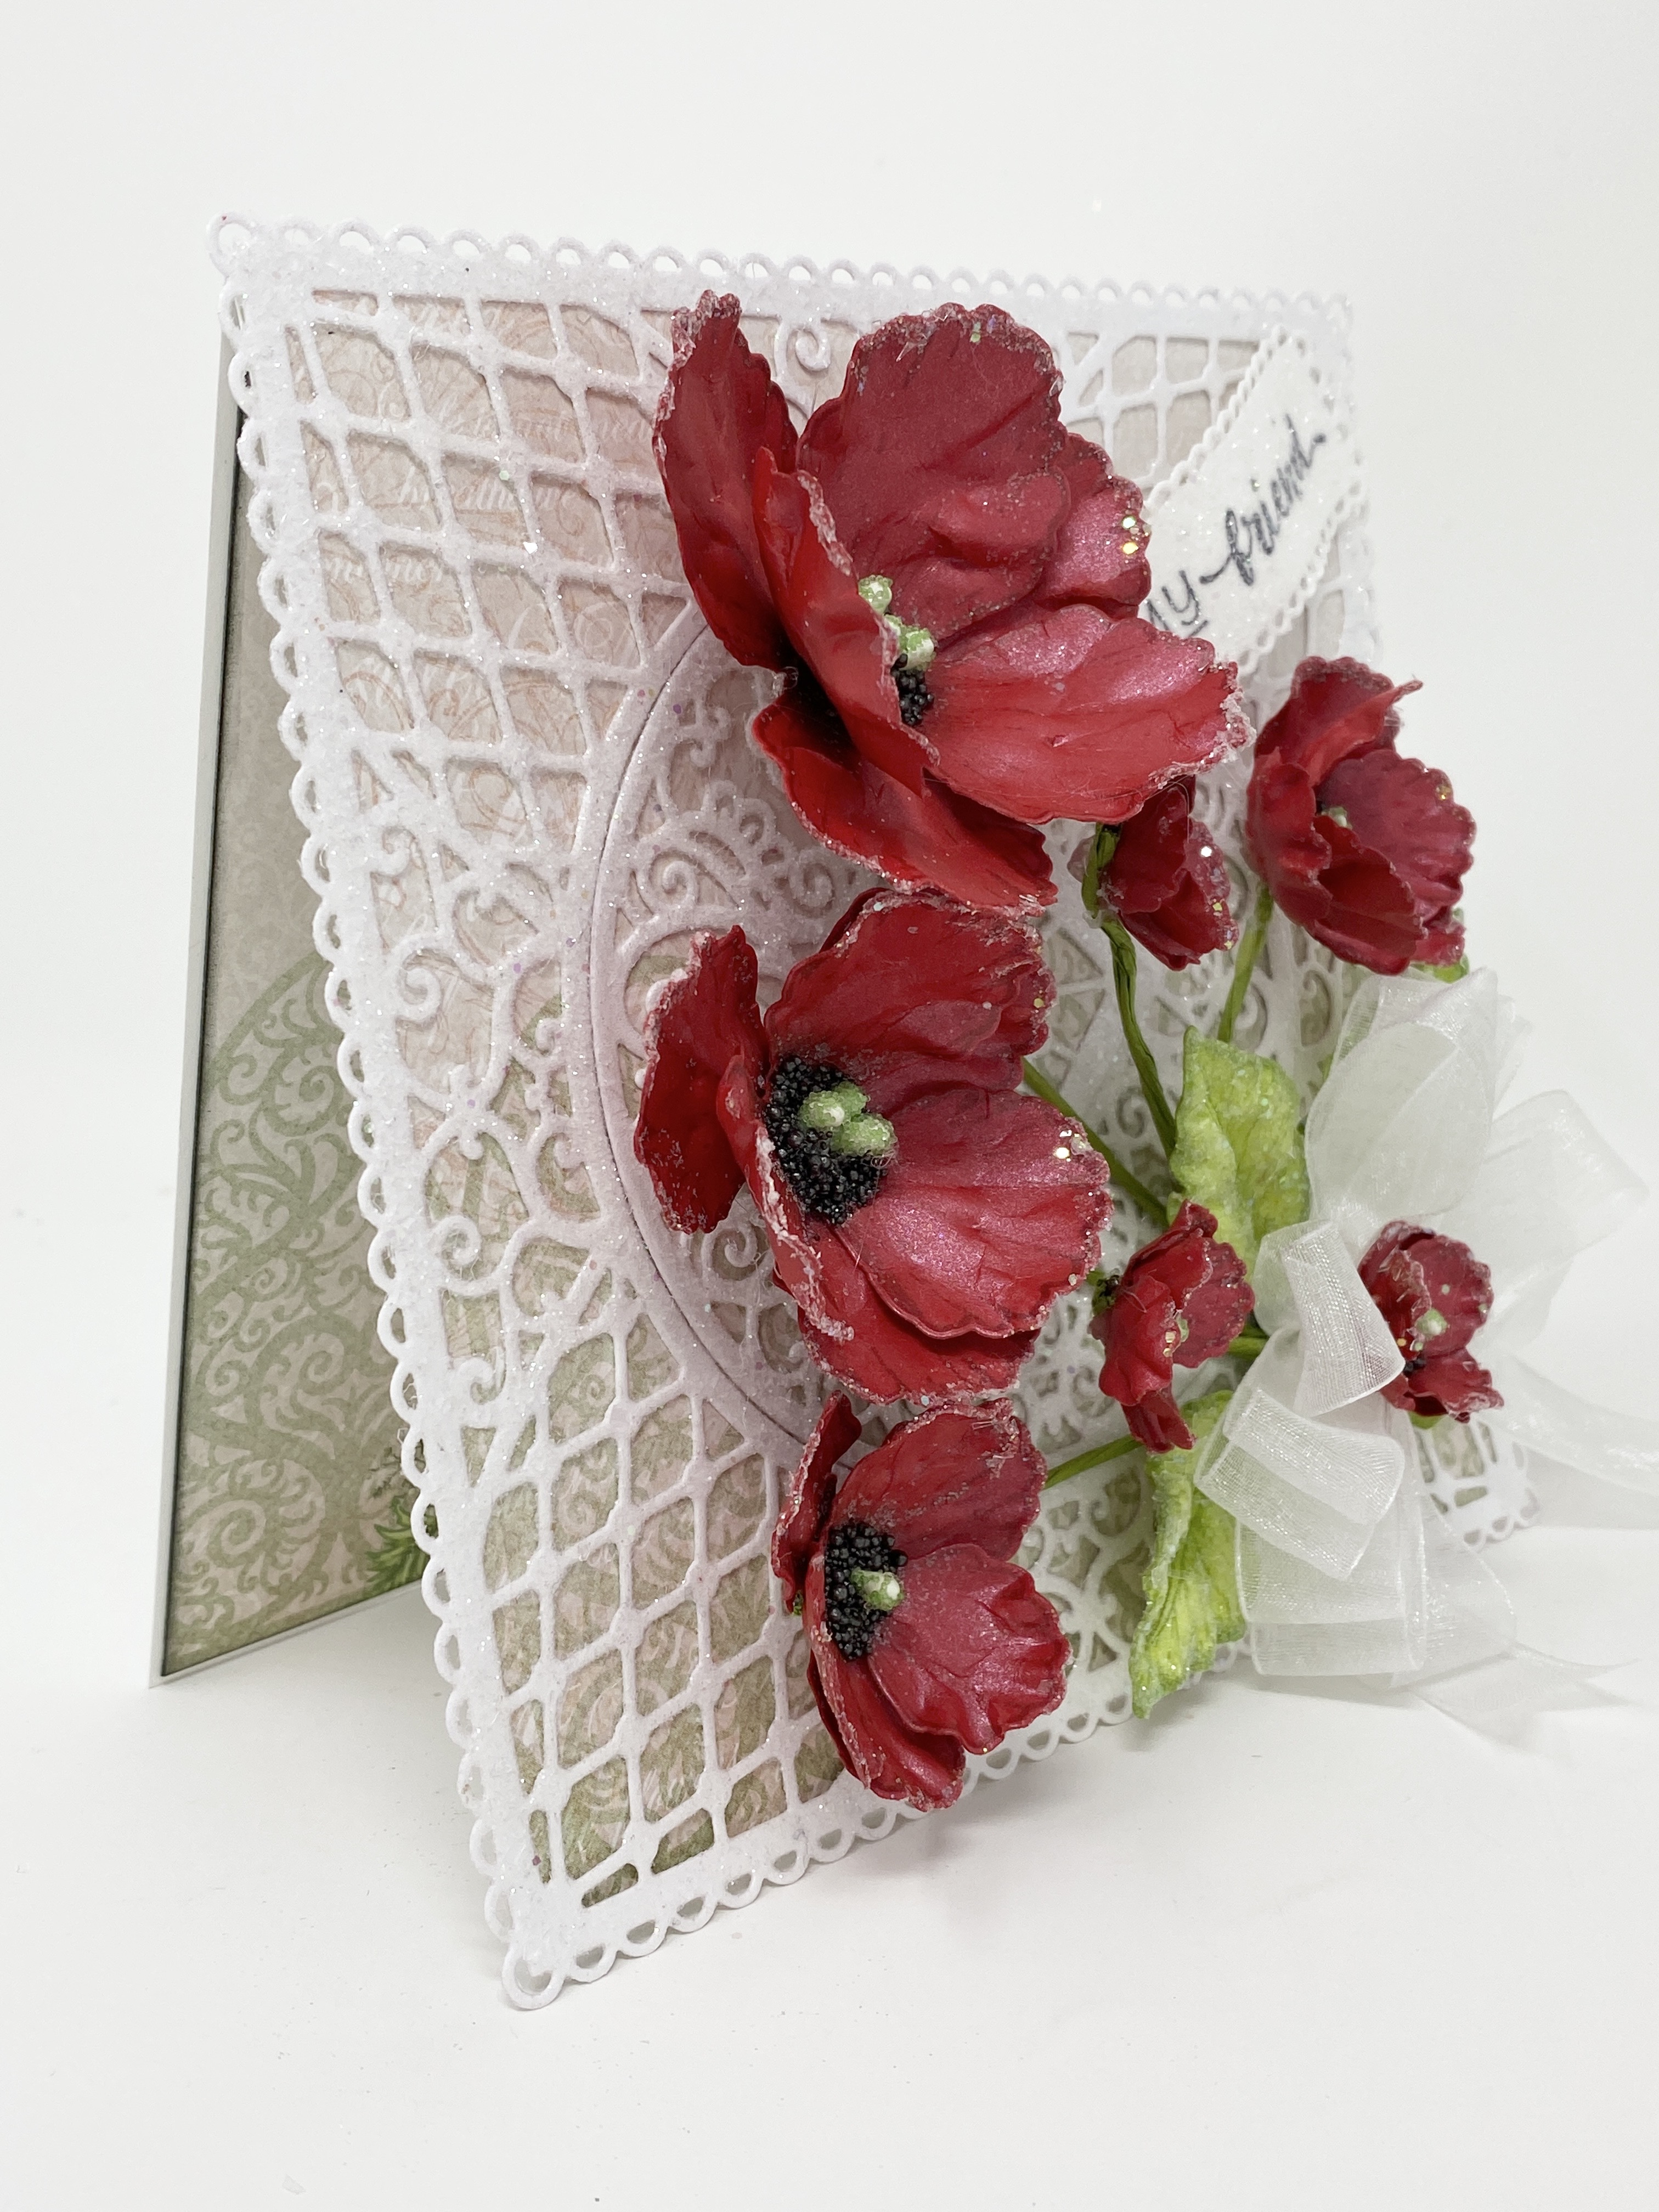


Instructions: Card size is 6 x 6”. Score and fold 11 1/2 x 5 3/4” Deluxe Flower Shaping Paper at 5 3/4” to create tent fold card base. Using the bottom half of sheet 5A from the Wild Poppy Paper Collection, cut the left side to 5 3/4 x 5 3/4” and adhere to the front of the card base using dries clear adhesive. Cut the right side of the paper to 5 5/8 x 5 5/8”, ink the edges with Distress Oxide Black Soot ink, Stamp the sentiment ‘I miss you’ from the For My Friend Cling Stamp set using Archival Jet Black ink. Adhere to the inside of card.
Using the Courtyard Elegance Die, cut from white cardstock, sponge with dries clear adhesive and cover with Rajni Chawla’s Crystal Clear glitter. When dry, adhere to the card front using dries clear adhesive. Stamp the sentiment ‘For My Friend’ from the Just For You Sentiments Cling Stamp set on white cardstock, diecut using the eyelet die from the Ticket and Tags Die set. Sponge with dries clear adhesive and cover with Crystal Clear Glitter. When dry, shape and adhere to the to right of the card front.
Using the Wild Poppy Cling Stamp set, stamp the Wild Poppies on red metallic card stock using Archival Mulberry ink. Diecut using the coordinating dies and shape in the 3D Wild Poppy Mold. Adhere two flowers together offset to create the flowers, pierce the centers using the Groove Golf Tool and add three green Pastel Bead Stamens – Medium to the center of the two largest flowers and add 1 green stamen to the two smaller flowers. Add dries clear adhesive around the stamens and sprinkle with Power Outage prills. Make a total of 7 flowers: 1 large, I medium, 2 small and 3 extra small. Remove one of the smallest stems from the EZ Stem Floral Wire and adhere all but one of the extra small flowers to the floral stems using hot glue. Adhere the bouquet to the card front using hot glue.
Stamp the Sweet Pea leaves in Leaf Green ink and color using the same ink. Diecut using the coordinating die and add more ink around the edges. Sponge with dries clear adhesive and sprinkle with Rajni Chawla’s Crystal Clear glitter. Adhere three of the large leaves to the base of the floral stems.
Make a multiloop bow from sheer white ribbon and adhere over the leaves. Adhere the last extra small poppy to the center of the bow using hot glue. Using a sponge, add a little dries clear adhesive just to the very edges of the poppies and sprinkle with a little crystal clear glitter.
All the products used on this project can be found in the Heartfelt Creations Gallery.
Please be sure to visit the Heartfelt Creations Blog to see all of the absolutely gorgeous projects created by the fabulous Design Team.
Thank you so much for taking the time to stop by, I really appreciate you!
Till we meet again, please stay safe, be well and have a beautiful day!
Crafty Hugs, 🤗🤗🤗
Janet
3 comments:
Your poppies are amazing! Love how you did the centers!
This is really beautiful!! I love how the poppies pop on the muted colours of the background.
Wow, what a gorgeous card, I just love your poppys!
Post a Comment